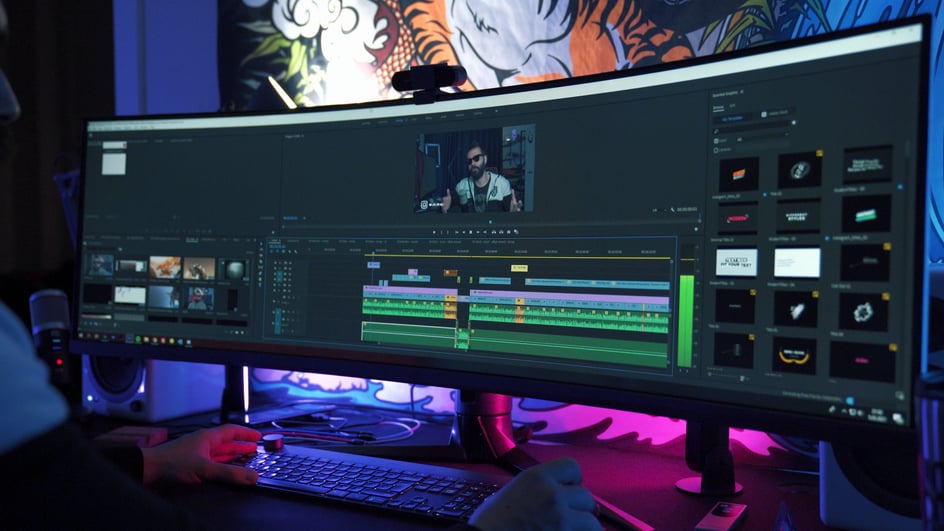
Editing Basics: How to Split a Clip in Premiere Pro
Jourdan Aldredge

Jul 22, 2022
As far as editing programs go, Adobe Premiere Pro is about as solid as they come for those wanting to learn the basics of film editing. It’s relatively easy to learn, yet it offers plenty of higher-end editing functionality like compositing, motion graphics, and color and sound design.
However, for those just starting out in video editing, it can still be a bit tricky to quickly get up to speed with this NLE software. If you’re finding yourself searching for some basic tips and tricks though, we have you covered.
In this short article we’re going to go over everything you need to know about how to split a clip in Premiere Pro. We’ll also share some other basic functions to help you with these standard editing tasks. Let’s dive in.
In an ideal world a video editor’s job should be pretty easy and straightforward. You take footage that you either shot (or was given to you), put it into your editing platform, and click export. Violà — you’re done!
However, in the real world, it often takes many cuts, edits, and transitions to turn your projects into a fully realized composition. One of the ways in which editors cut together their sequences is by splitting clips and rearranging them as they see fit.
Splitting a clip simply means taking a full video clip and digitally cutting it in half to create multiple clips. On a timeline-based video editor you can see this happen very literally with a razor tool. Once a clip is cut you’re free to move each split clip around just as if they were a new clip.
As you can see in the short tutorial above, splitting a clip is a pretty straightforward process in Premiere Pro. Yet it does require a few clicks and shortcuts to move things along.
Once you’ve opened Premiere Pro, added your video assets, created a sequence, and added your clip to the timeline, here are the steps you need to follow.
Keep in mind that when you split a clip with the razor tool you're also going to split audio as well. This means that unless your original clip is linked you're going to need to repeat the process for the video footage and with the separate audio tracks.
Pretty simple, right? It's almost as if there's a magical split clip button that helps you turn a single video file into something completely new. But before you switch to your project timeline to try it out, there are a few more things you can do in the world of splitting clips in Adobe Premiere Pro.
You can split clips in a myriad of other ways depending on what you’re trying to accomplish. For example, you can always split a clip by adding the same clip to the sequence and simply editing them to find the sections you want for each.
You can also split clips either accidentally or on purpose by dropping another clip over a section of your video clip. This will automatically split a clip on either point of the added clip.
However, if you’re looking to simply split a clip as part of your regular workflow, I would recommend splitting clips using the method outlined above because it’s the most straightforward way.
I like this video from Adobe in a Minute they quickly showcase some other ways to split, cut, and trim your video clips for a variety of other uses.
Remember, splitting a clip might help out in a specific situation from time to time, but there are plenty of other editing tools at your disposal in Premiere Pro.
Also, if you’re feeling extra frisky, Premiere Pro actually has some automated editing functions now which you can try out by checking out the Scene Detection tool.
Keep in mind that this is an experimental new technology within the program, so maybe try testing it out for fun before you start letting an AI handle your splits, cuts, and edits.
If you found this quick tutorial and walkthrough helpful, be sure to check out these other great video editing articles from the Soundstripe blog: