Dec 8, 2021
If we’re talking about revolutionary technologies in the world of film and video production, then there is none more important (other than the invention of the camera itself) than chroma key composition.
Also known more colloquially as “green screen technology,” this process of layering two images together has become one of the most common forms of visual effects in all manner of film and video production.
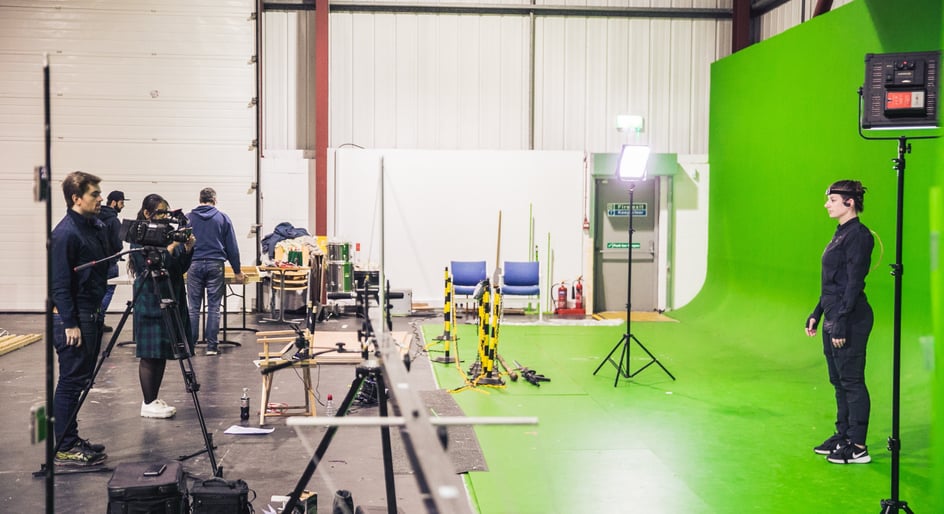
From corporate talking head videos to mega-budget blockbusters and music videos, the powers of green screens are nearly endless. But for anyone just starting out, how do you actually use a green screen for your video projects?
Let’s go over some basics of the technique, then lay out all the steps you need to follow in order to start green screening (aka chroma keying) for your next project.
The origins of green screen technology actually date back to optical printing, double exposure, and traveling matte techniques from as far back as the 1900s. However, “green screen” technology didn’t actually become viable until the chroma key process was developed in the 1950s.
If you’re looking for more of a textbook definition, Wikipedia describes chroma key compositing (aka green screen) as “a visual-effects and post-production technique for compositing (layering) two images or video streams together based on color hues (chroma range).”
When filming a person or object in front of a green (or at times blue) backdrop, a savvy video creator can effectively make the background disappear and replace it with whatever you want to put in its place. That lets you composite the surface of Mars on top of the “blank canvas” that the green screen creates.
As you can see in the video above, setting up and using a green screen can be a pretty simple and straightforward process. All you really need is a digital video camera, a green screen blanket, matte, or large roll of paper, and a computer to edit the footage.
Here are the basic steps for using a green screen:
Of course, there’s much more to cover for each of those steps, but that’s a basic guide to the absolute minimum information you’ll need to complete to properly use green screen compositing in your videos.
Now let’s explore these steps and techniques from a closer perspective.
The real trick to shooting with a green screen and using the chroma key editing process comes down to consistency.
You want to make sure that everything is set up, lit, and shot so when you bring the footage into your video editing software of choice, the computer can accurately detect what needs to be replaced and what needs to stay.
Here are some basic tips to help with the setup, shooting, and editing of your green screen footage:
Before we move into editing with a green screen effect, let's take a moment to talk about selecting different backgrounds. For any green screen background, you actually have a few more options at your disposal than you might think.
For one, you can actually use either a green or blue screen (or pretty much any other color of your choosing). There is nothing inherently magical about the color green other than that it is one which people don't usually wear, and it doesn’t overlap much with natural human skin tones.
In fact, there are plenty of blue screens which you can find either at your local TV station or on the sets of the largest blockbusters. The real trick is simply deciding which color background is right for your production needs and the chroma key software you’ll use for your editing process.
Speaking of chroma key editing and picking the right software for the job, here are some tutorials to help you with the editing of green screens in some of the most popular and recommended programs.
As you can see in the video above, working with green screens and chroma key compositing is simple in many modern video editors.
With Adobe Premiere Pro, for example, you can simply use the “Ultra Key tool” as a quick and easy way to select, remove, and replace your green screens from your videos.
You can read more in-depth about the process on Adobe's website.
Similarly, Apple’s Final Cut Pro is another solid option for video editors of any skill set. The editor offers plenty of built-in tools and features for working with green screens or other chroma key setups.
As outlined in the above tutorial, Final Cut Pro has a helpful “Keyer” effect which makes the process quick to use and accessible to work with.
You can learn more about the process on Apple's website.
While not as much of a name brand as Premiere Pro or Final Cut at this point, Blackmagic Design’s DaVinci Resolve has become another popular video editing software for editors and filmmakers alike.
It’s a great resource for quickly and easily working with green screen setups and chroma keying with its simple-to-use 3D Keyer effect. To use this, just drag and drop it onto the selected video files on your timeline.
Hopefully these steps and tutorials will give you a solid knowledge base about the history of green screens and how the chroma keying process is used in modern video production.
If you’re interested in learning more about working with green screens and developing your filmmaking abilities, here are some extra resources to help you on your way: