Dec 1, 2020
We are truly living in a golden age of film and video.
Not only do we have more avenues open to watch movies in theaters, television at home, and stream hundreds of thousands of hours of content on our phones, but it’s also easier now than ever to get started in film and video.
Plus, thanks to continuous evolution in camera technology, digital video cameras and smartphones alike are becoming better and cheaper every year.
At this point, all you really need to get started in film is a good idea and a group of friends to help you out.
However, before you gather your troops to shoot your first feature film or launch your YouTube channel, there is at least a little bit of film theory to explore. One of your biggest decisions early on is going to be deciding just what you’re going to shoot — and how you’re going to shoot it.
Today let’s take a look at all the basic types of camera shots that any aspiring filmmaker or online content creator should know.
From wide shots to medium shots to close-ups, establishing shots to cowboy shots, we’ll explore everything you need to know about putting together a shot list to plan your films and video projects like an absolute pro.
Before we dive in too deep into all of the different camera shot types that you need to know, let’s first go over the all-important shot list. Basically when you start off on a film or video project, you want to have a “shot list” to work off of that serves as a de facto master sheet.
A shot list is usually put together in pre-production and is done in conjunction with the storyboarding process. To create a shot list, usually a director and/or the director of photography (aka the DP or cinematographer) will go through the script and decide on every shot that the project will need to include.
This shot list can be further segmented down into a shooting (or shot) schedule which plans out when and where each camera shot will take place, but for now the shot list might be the most important part of the process to learn.
If you’d like to read up more on what a shot list is and how to create one (including downloading your own shot list template), check out this article below.
Alright, now let’s move on to the actual types of camera shots that you’re going to use for film and video projects. By no means is the list below a complete list as there are nearly a countless number of shot types which are still being dreamed up and created even today.
However, if you take any film class or watch any beginner series on YouTube, you’ll undoubtedly go over many of these favorites. And make no mistake, these are highly important camera shot types which you’ll be able to recognize being used in many of your favorite films and videos.
The trick is to take this information and learn about what makes each camera shot type work within the overall construction of your sequences and scenes. From there, each shot type will serve as a good jumping off point as you dive further into your own exploration into composition and framing.
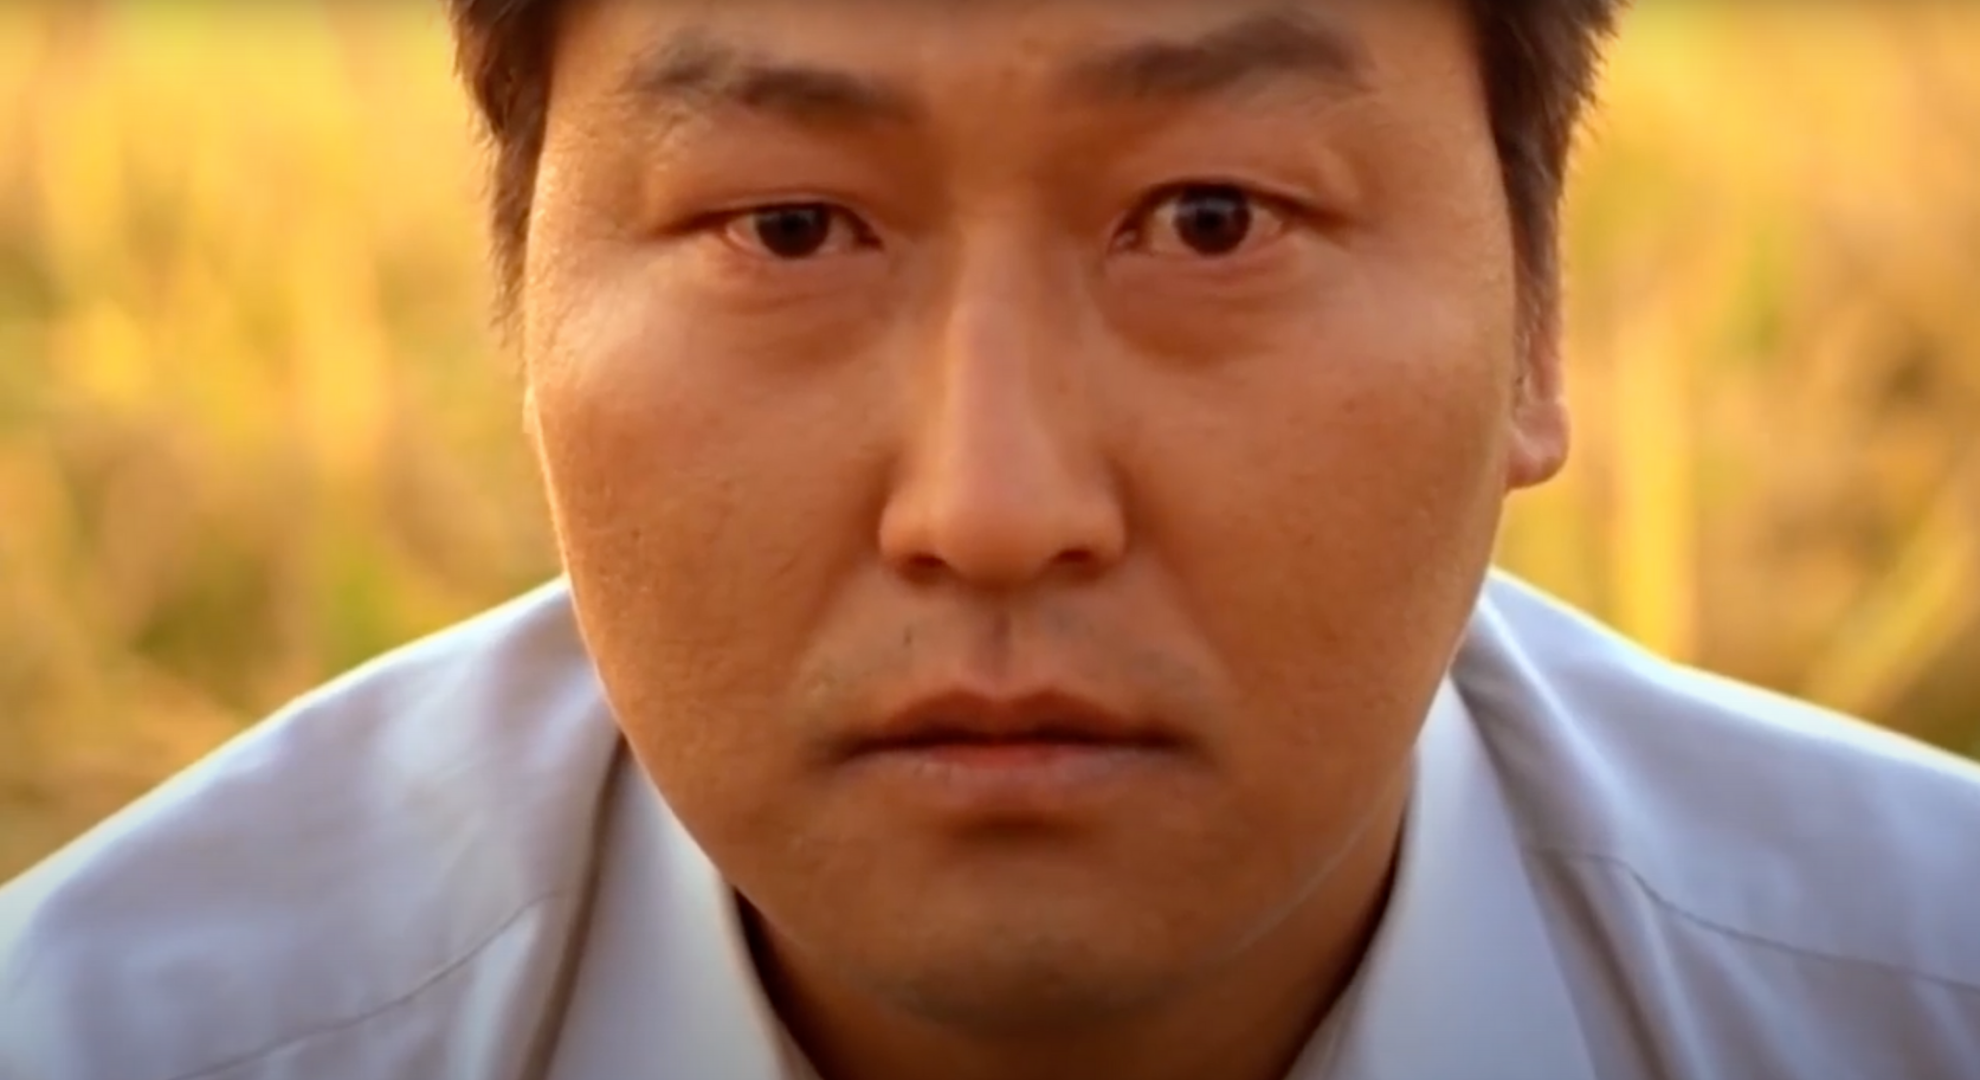
Our first shot type is one of the most critical in any film or video scene construction: the close up shot. As its name implies, a close-up shot is one of the most intimate camera shot types which any filmmaker can frame up. It’s meant to focus on one (or at most two) character’s faces with extra attention being given to the eyes.
As you can see in the examples above, close-up shots consist of either just a face if the subject or a person, or completely showcasing an item if the subject is an object. Here are some of the key hallmarks of what makes a good close-up shot:
Close-up shots are an important part of any scene’s construction and are found most often in dramatic films or projects where you really need to see an actor’s performance or expression. However, it’s best when used in concert with other wider shot types.
If you’d like to read up much more on how the close-up shot has been used throughout film history, as well as what differentiates a good close-up shot from a bad one, check out this full in-depth article below.
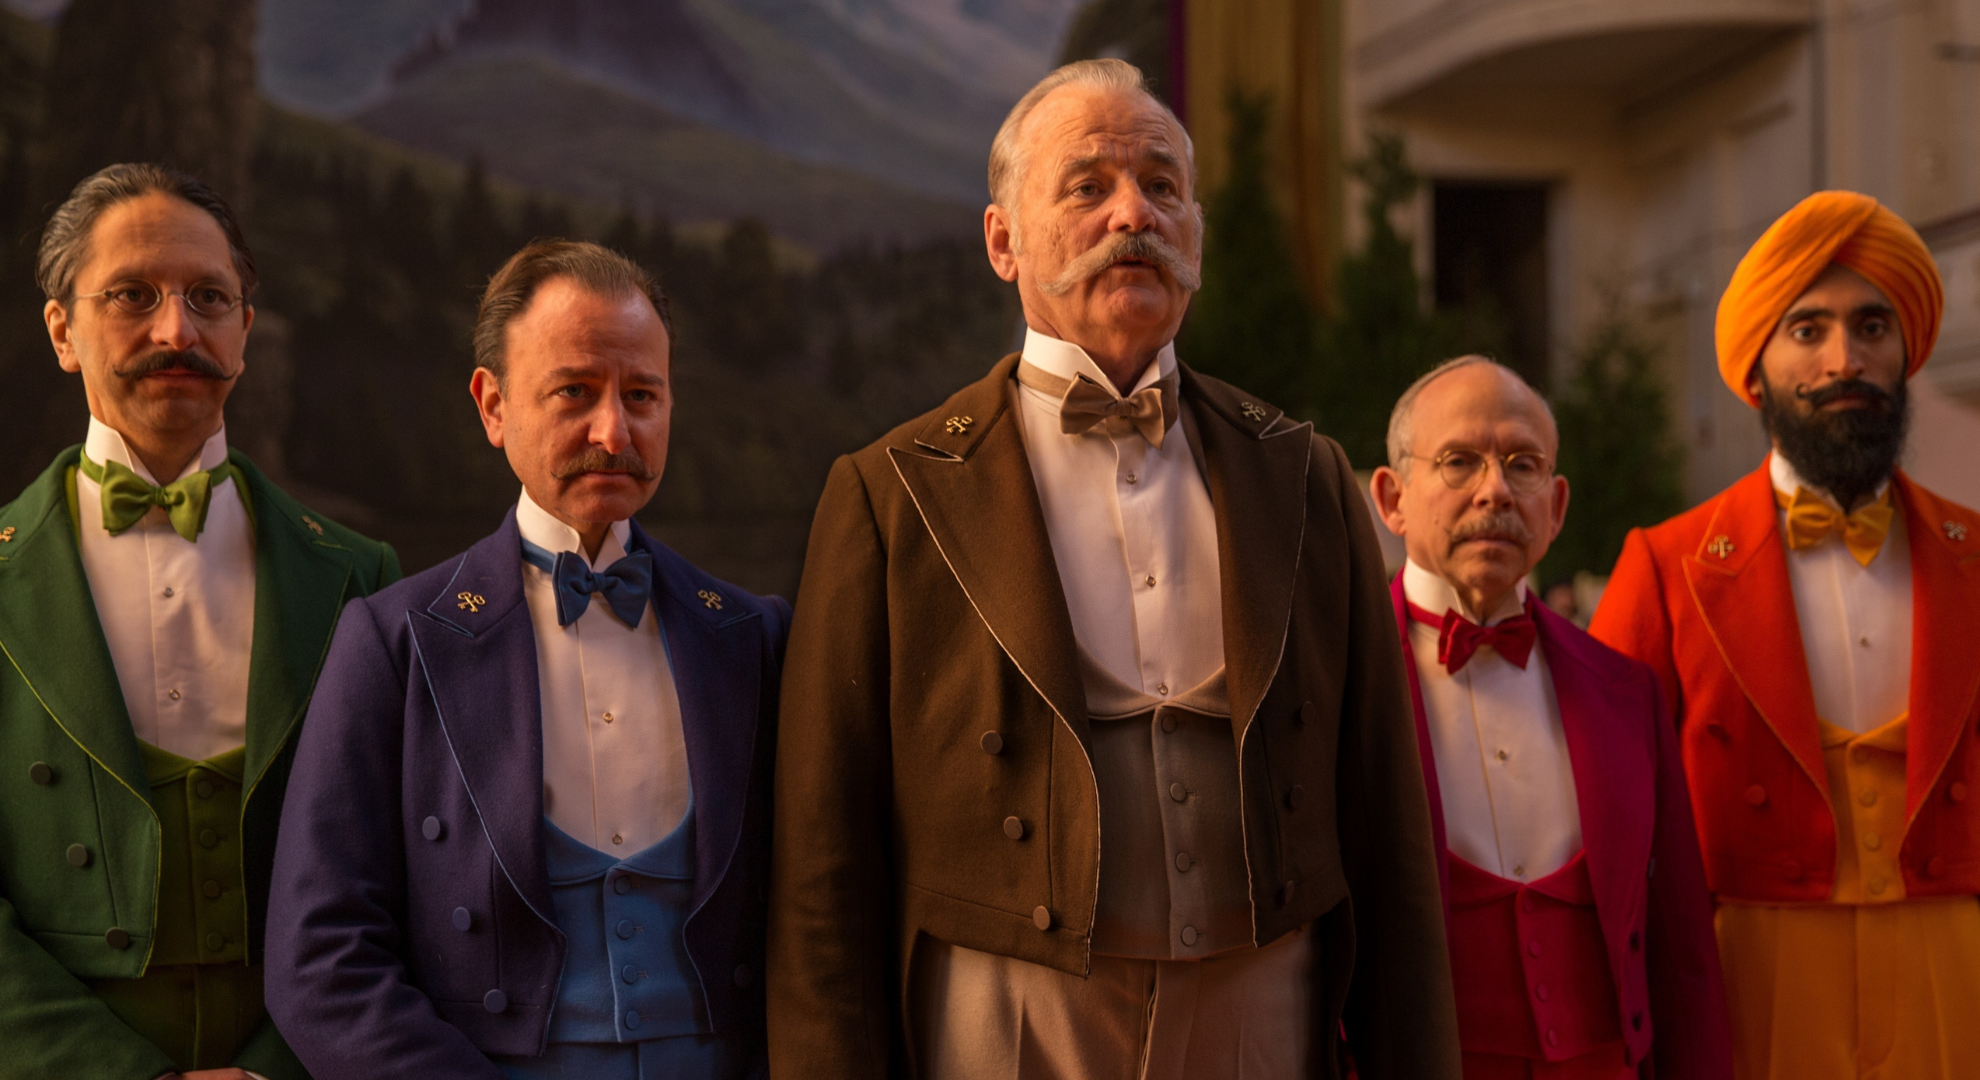
Taking a step back, the next camera shot type we’d like to cover is the medium shot. For any aspiring YouTuber or online content creator, this (along with the close-up) might be your most used camera shot type as it provides a good mix of facial detail as well as coverage of the arms and upper body.
A medium shot is loosely classified as a shot which starts at a subject’s waist and extends to just beyond the top of their head, although that definition only scratches the surface of this flexible shot type. Alternate uses like a high angle shot can match this criteria but create a very different tone or "feel" of the camera angle.
Medium shots are also good camera shots to use when shooting a “two shot” (or a shot which includes two people).
We cover more about medium shots in this post:
Sliding in right between a medium shot and a wide shot, we also have to quickly talk about the famous cowboy shot. This shot type owes its invention and the majority of its uses to the early days of classic cinema when westerns and cowboy movies reigned supreme in Hollywood.
Shot from just below the waist and up to the top of the head, the cowboy shot is a hybrid shot type which is meant to be flexible in terms of its framing. It’s goal is simply to put your lead hero character (or perhaps a villain) in the best light possible so to speak.
As with any great cowboy scene, you also want to make sure the framing is set up to include the iconic gun and the hostler. This shot type also has many other elements which have to do with its shot angle, motion and other details, however from a standard shot type definition it’s important to at least understand where it fits into any shot type list.
To check out some more examples from both classic and modern cinema, as well as get more details into how to construct one on your own, check out this great article on framing up your own heroic cowboy shots below.
Moving on from the medium shot, the wide shot is the next shot type to consider in our journey. Also called a long shot, as its name implies, a wide shot is meant to be shot from even further back and show a subject completely from below the feet to above the head.
Wide shots are also quite standard in most film and video projects and are used to showcase a subject (or multiple subjects) within a setting or space. A good wide shot should give the audience a solid understanding of where the subject is and what is going on in the scene.
There are some more nuanced versions of wide shots which we’ll go over below (like the extreme wide shot, the establishing shot, or the master shot), however for these purposes a wide shot is just another important shot type which should be included in any filmmaker’s repertoire.
You can read much more in-depth into the history of wide shots and explore how to use them in your film and video projects by following the link below.
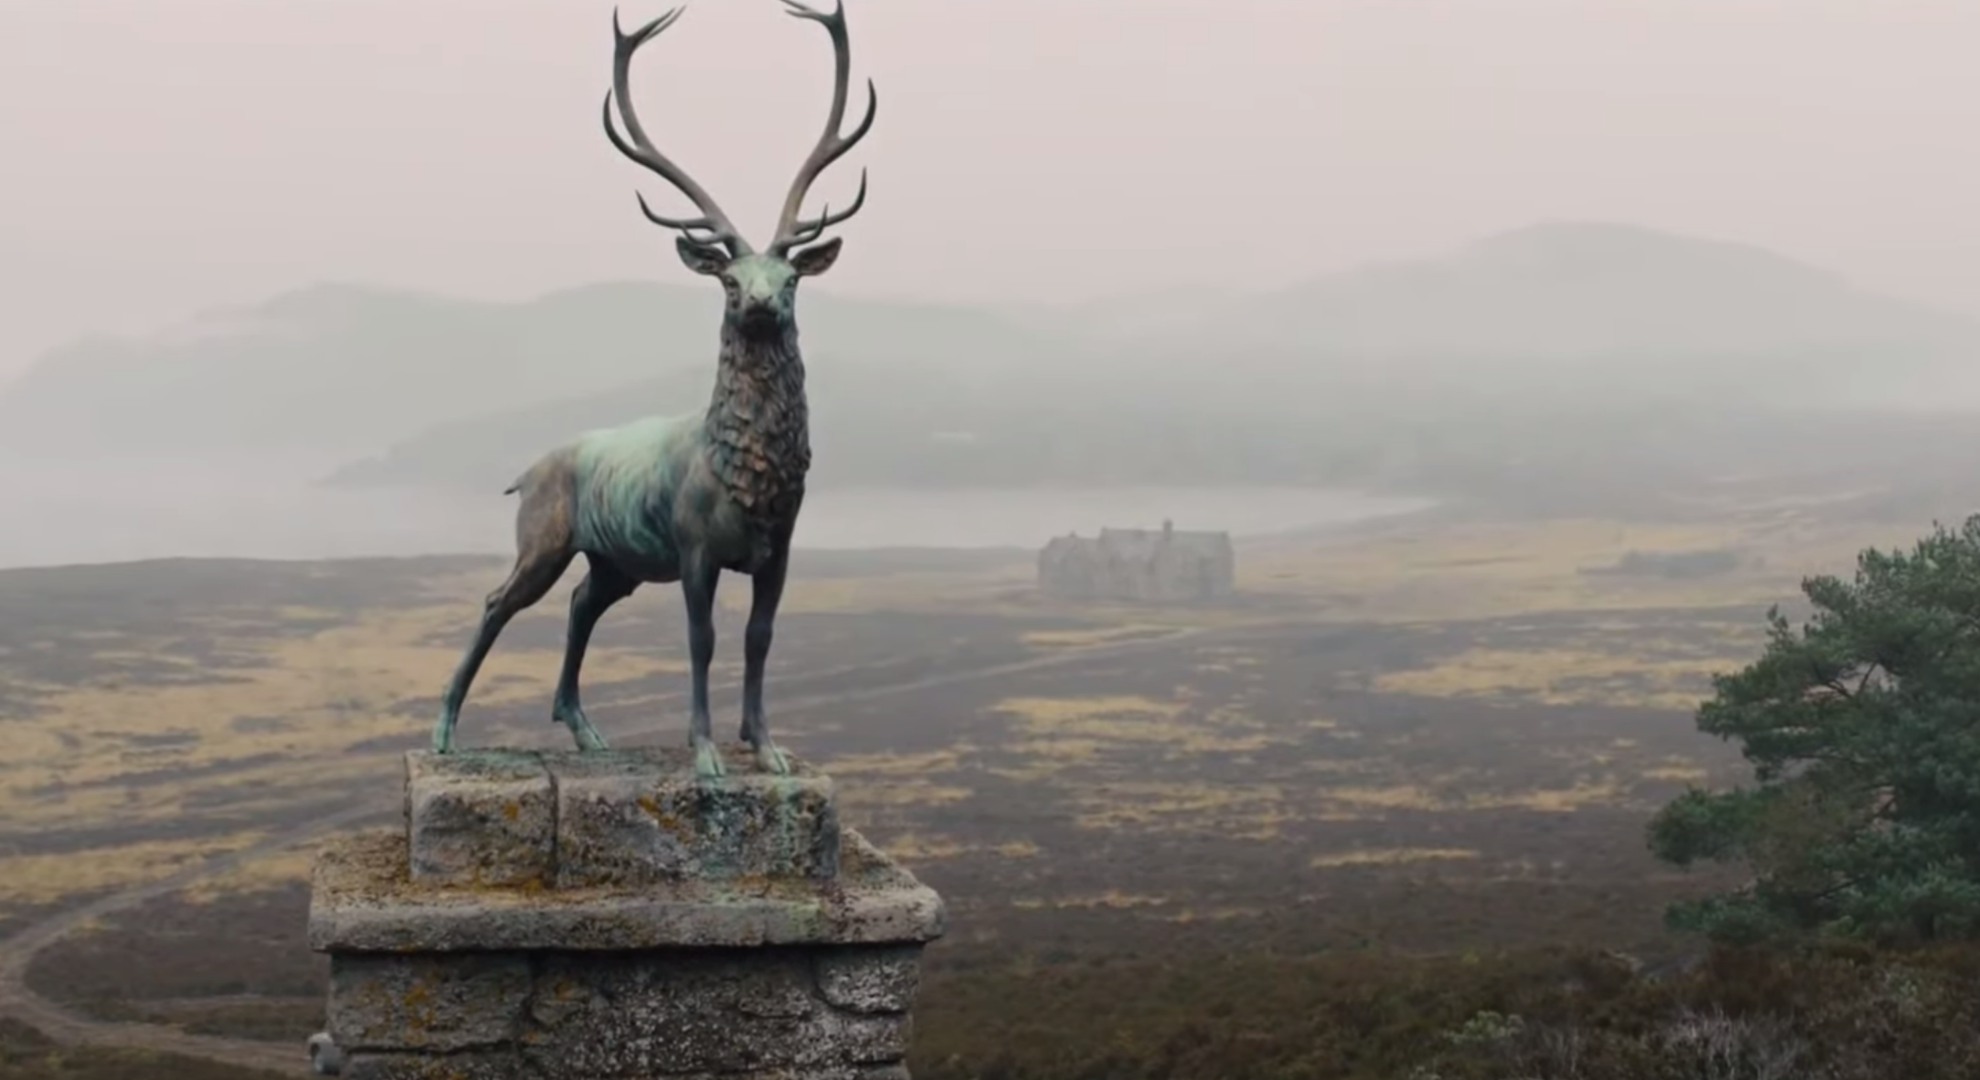
An establishing shot is another important shot type which filmmakers should strive to understand and use. By definition, it could also be classified as a wide shot, however its use is more nuanced in that it helps to set up a scene and convey a certain amount of visual information.
A good establishing shot is also meant to do as its name implies and help establish a scene or setting. If you’ve seen any film or television at all, you’ve probably seen examples of these establishing shots in action — and truth be told they can often be some of the most beautiful and memorable camera shots in any film or video project.
There's a lot of flexibility here, and the goal is to really build out the world surrounding the forthcoming scene. It's not uncommon to see a high angle shot, an extreme wide shot, or a dolly shot as filmmakers explore how best to draw the viewer into the setting.
For the curious, here’s a quick breakdown of some of the key tenets every establishing shot should include:
From there, you can delve even further into the theory behind what makes establishing shots work and how to add them to your filmmaking arsenal in this article here.
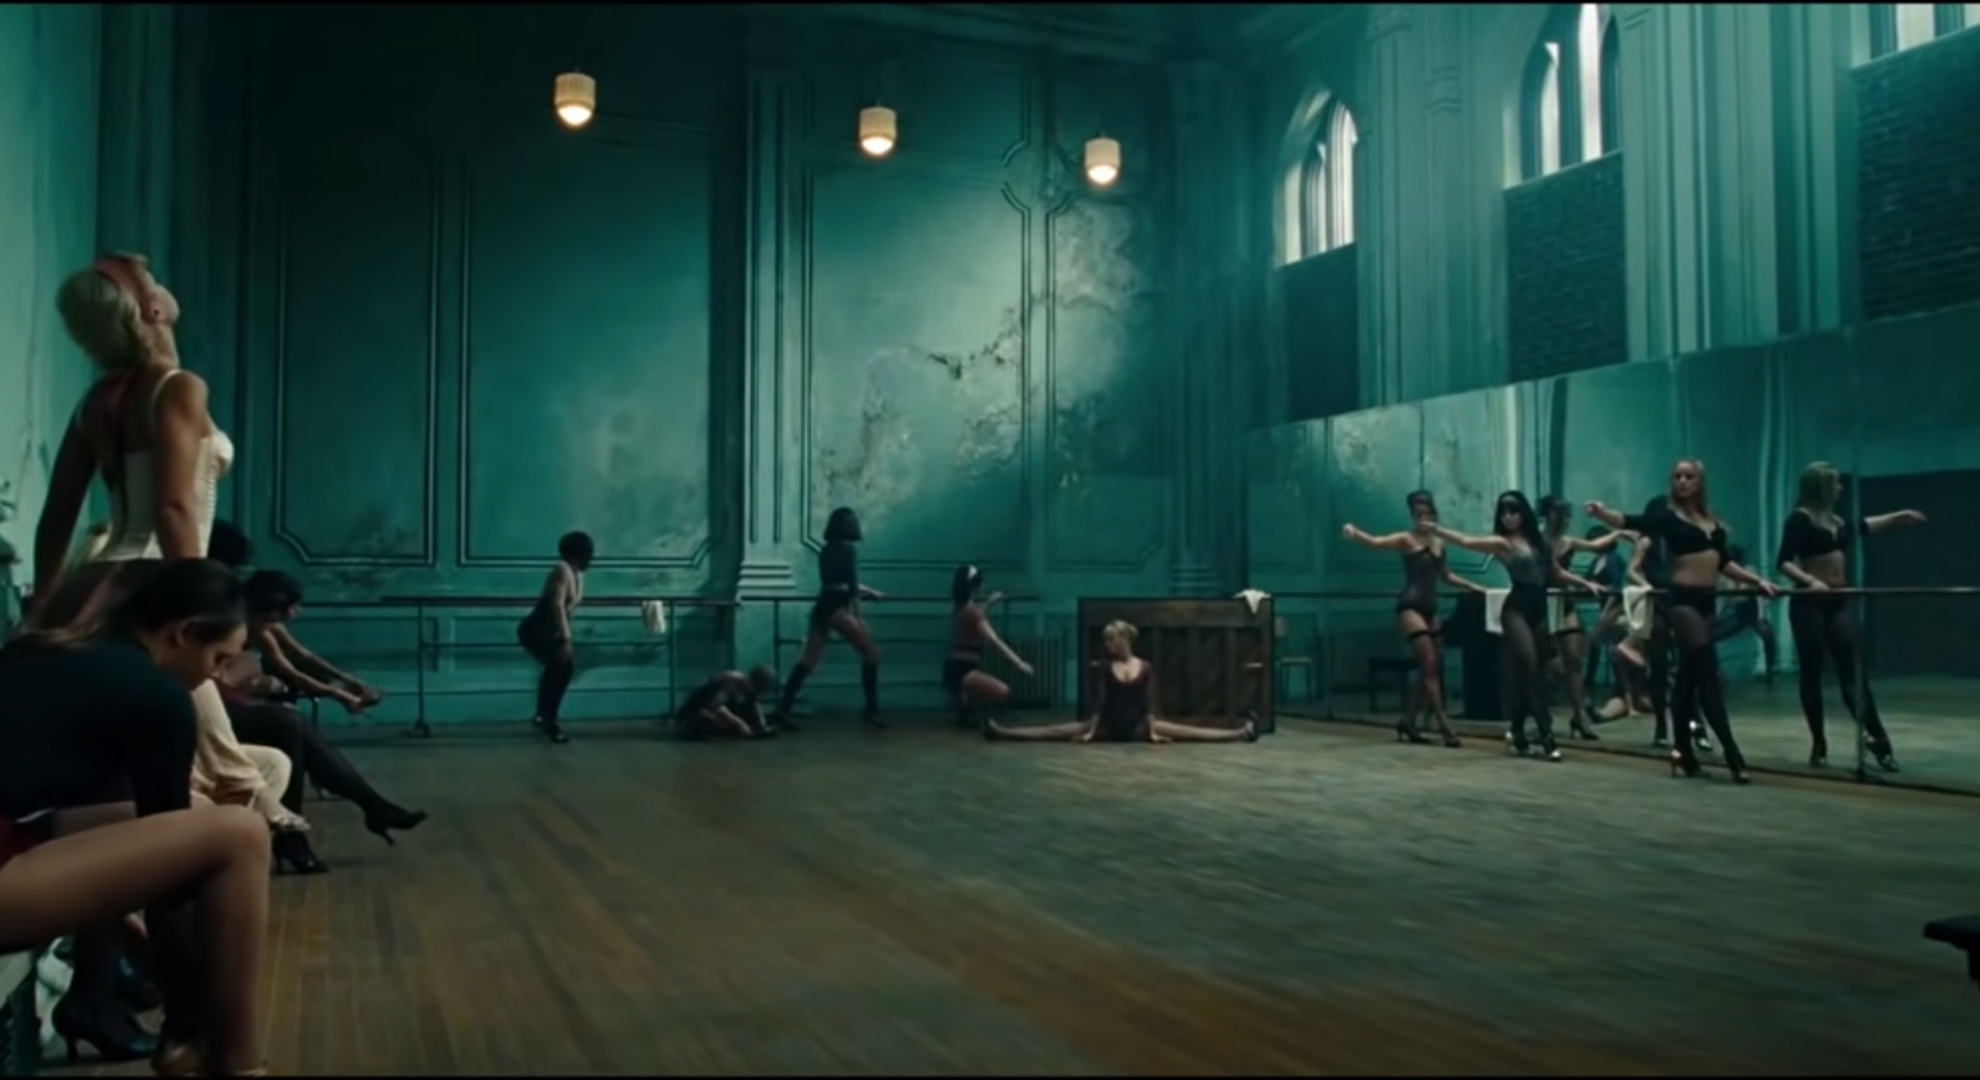
Also similar to both an establishing shot and sharing elements of a wide shot, a master shot is another camera shot type which can be helpful for any film or video project. However, strictly speaking, its use is perhaps best for those interested in television content or perhaps more improvised video types.
A master shot is traditionally a long take, wide shot which records the entirety of a scene or sequence from start to finish. At times, it can also be simply used as an establishing shot or an extreme wide shot, however it’s best to think about it in terms of editing and scene construction.
To an editor, a master shot will be the first shot to be laid out in a timeline as a foundation of sorts to construct a scene full of different shot types.
To help you get a better grasp of how to use and shoot a master shot, here are the five basic steps:
Be sure to read up further on master shots to fully learn how to use them in your film and video projects. (And trust us, your editor will thank you!)
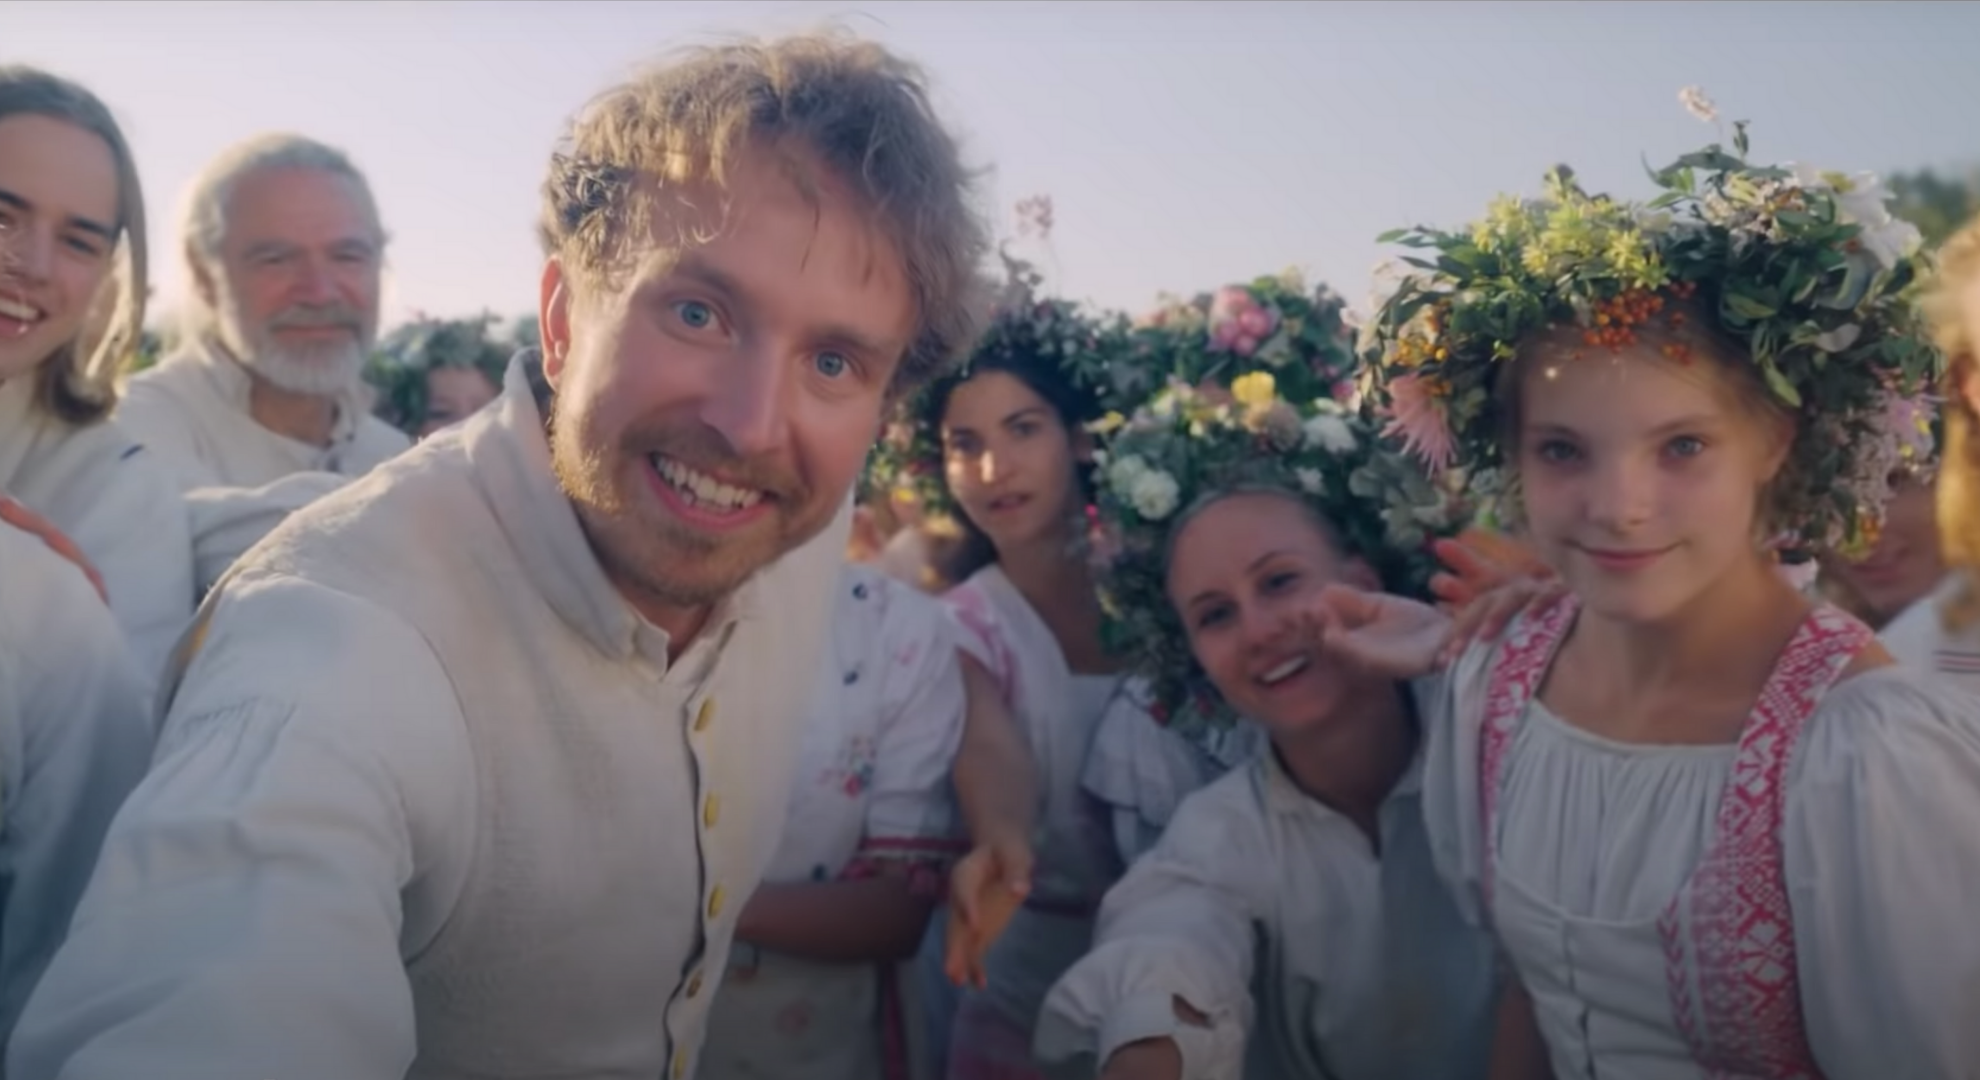
One of the most fun camera shot types on our list, the point of view shot is a great example of how even the earliest of filmmakers found creative ways to put the camera into action. While it could fit into other spots on this list (everywhere from medium shot to even an establishing shot), the purpose of the POV shot is completely different.
Unlike most traditional shot types which are meant to present the action in a scene as a stationary, omnipresent observer, the POV shot quite literally makes the camera part of the film itself.
Owing its earliest uses to experimental filmmakers, the POV shot is achieved more often than not by operating the camera in a handheld fashion as it is moved throughout a scene. Depending on the circumstances, characters within the scene can interact with the camera as if it were a character itself as a way to fully immerse the audience into the narrative.
POV shots are a bit tricky to classify in terms of shot types or lengths as they do vary in how they are presented and captured, however here are some basic tips for shooting POV shots in your own projects.
If you’re at all interested in learning how to find new and creative approaches to your own filmmaking, POV shots are a great way to spark your own creativity as well as develop your cinematography chops. Dig deeper here:
![]()
We also need to talk about movement and how it can be added to your shot types and selections. While there are of course pans and tilts which can be performed with a stationary camera attached to a tripod, there are also some even more dynamic camera moves that truly put the camera into motion.
The tracking shot might be the best example of a high-impact shot type and camera move which can really immerse the audience into the story and the action of a scene. The tracking shot is also often called a dolly shot as it traditionally uses a dolly cart which follows a literal track laid out on the ground.
To learn more about the tracking shot and how you can harness its power of movement for your own projects, read up on the technique in this article below:
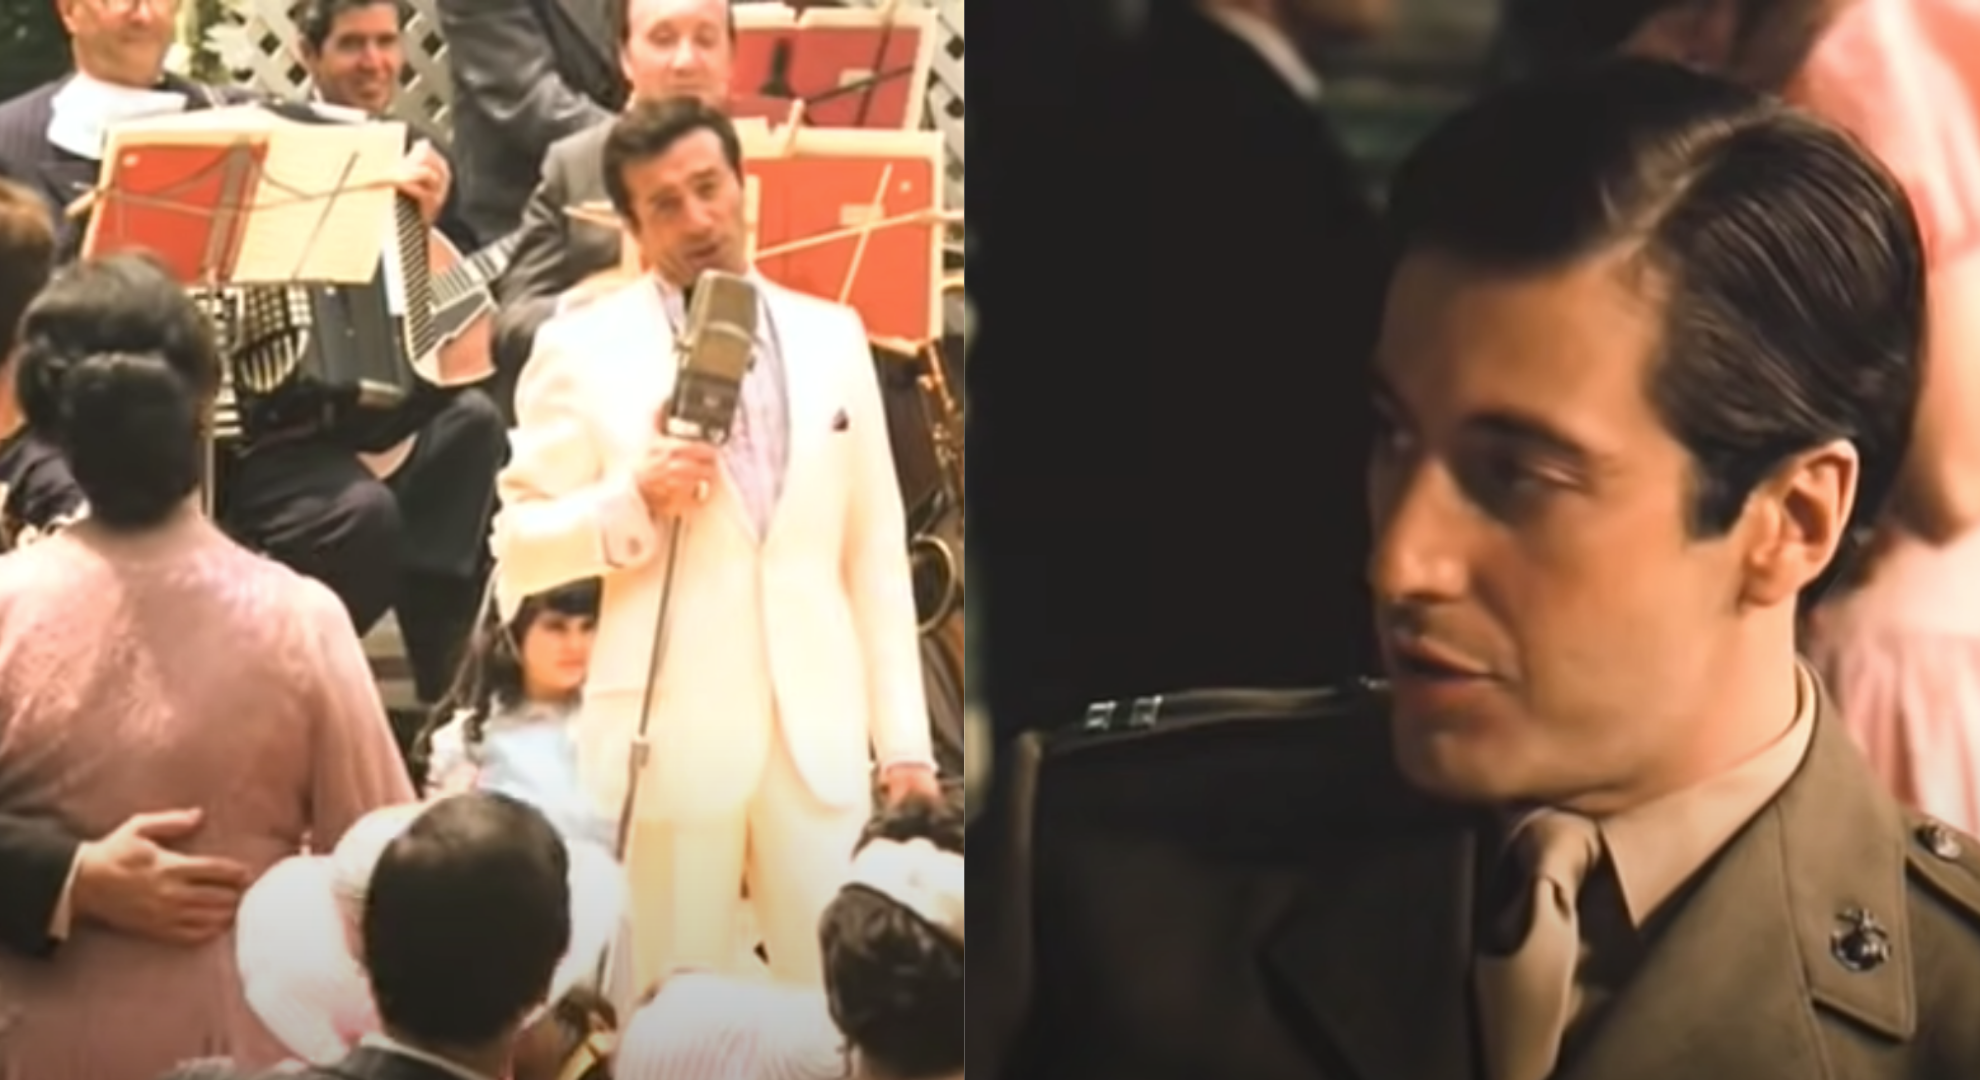
Traveling along our journey of different shot types, we also have to talk about the types of shots which you can add in the edit. As you might expect, when shooting a scene it can be easy to think about things in terms of coverage. For example, one person is speaking so we need to film them in a close up.
Or another person enters the room so we need to shoot a wide shot to show the action. However there are also plenty of examples of times where you’ll need a very specific shot to let the viewer know about a certain detail.
These are called cutaway shots (or insert shots) and they can actually often be shot at a completely different time and place. A good example of a cutaway shot might be a shot of an item (like a ring) being picked up in a close-up as it's being discussed in conversation.
To learn more about cutaways and insert shots and how to both shoot them for your projects as well as add them into the edit, check out this full article here:
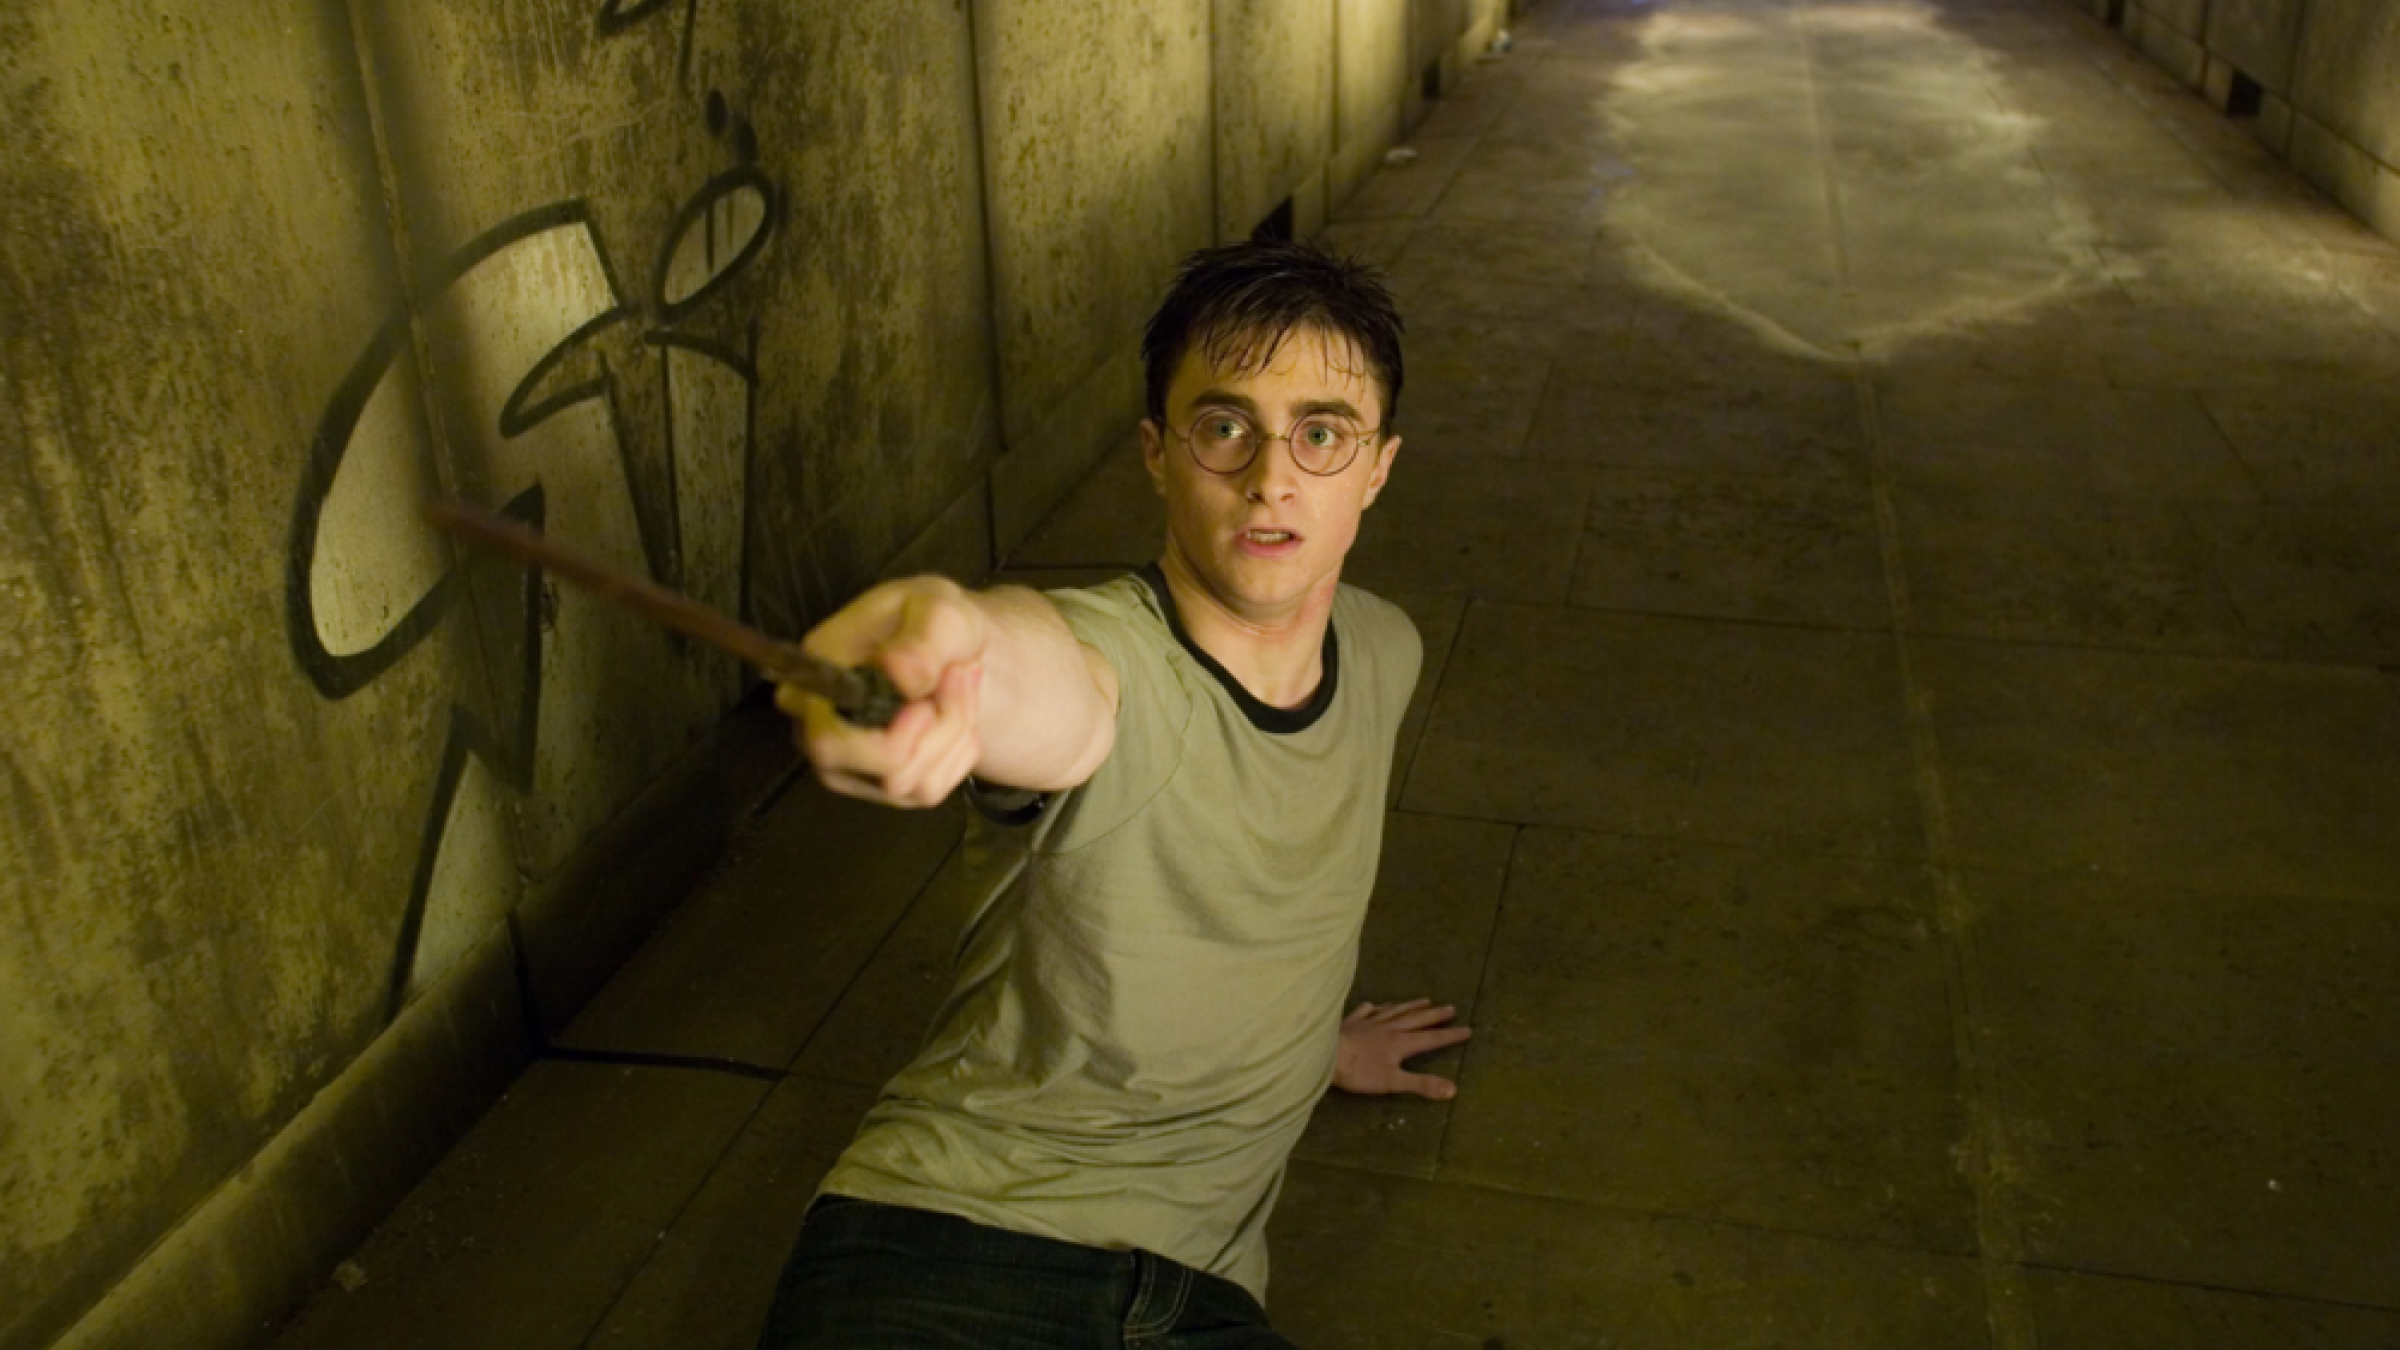
Taking a break from going over different shot types, it’s also about time we focused on shot angles and shot levels. While you might think these mean the same thing, angles and levels are quite different. They also play a critical role in shaping your cinematography overall.
A shot angle is all about the tilt of a camera and how that creates the angle of view in regards to the subject (or subjects). This angled tilt is usually defined by degrees and is often thought of as a high angle or a low angle when combined with a shot level.
This shot level is all about the plane on which the camera is placed and where that is in regards to yourself (as the camera operator) and your subject. When combined there are tons of different approaches and variables to consider. Which you can read up on in more depth in this great piece below:
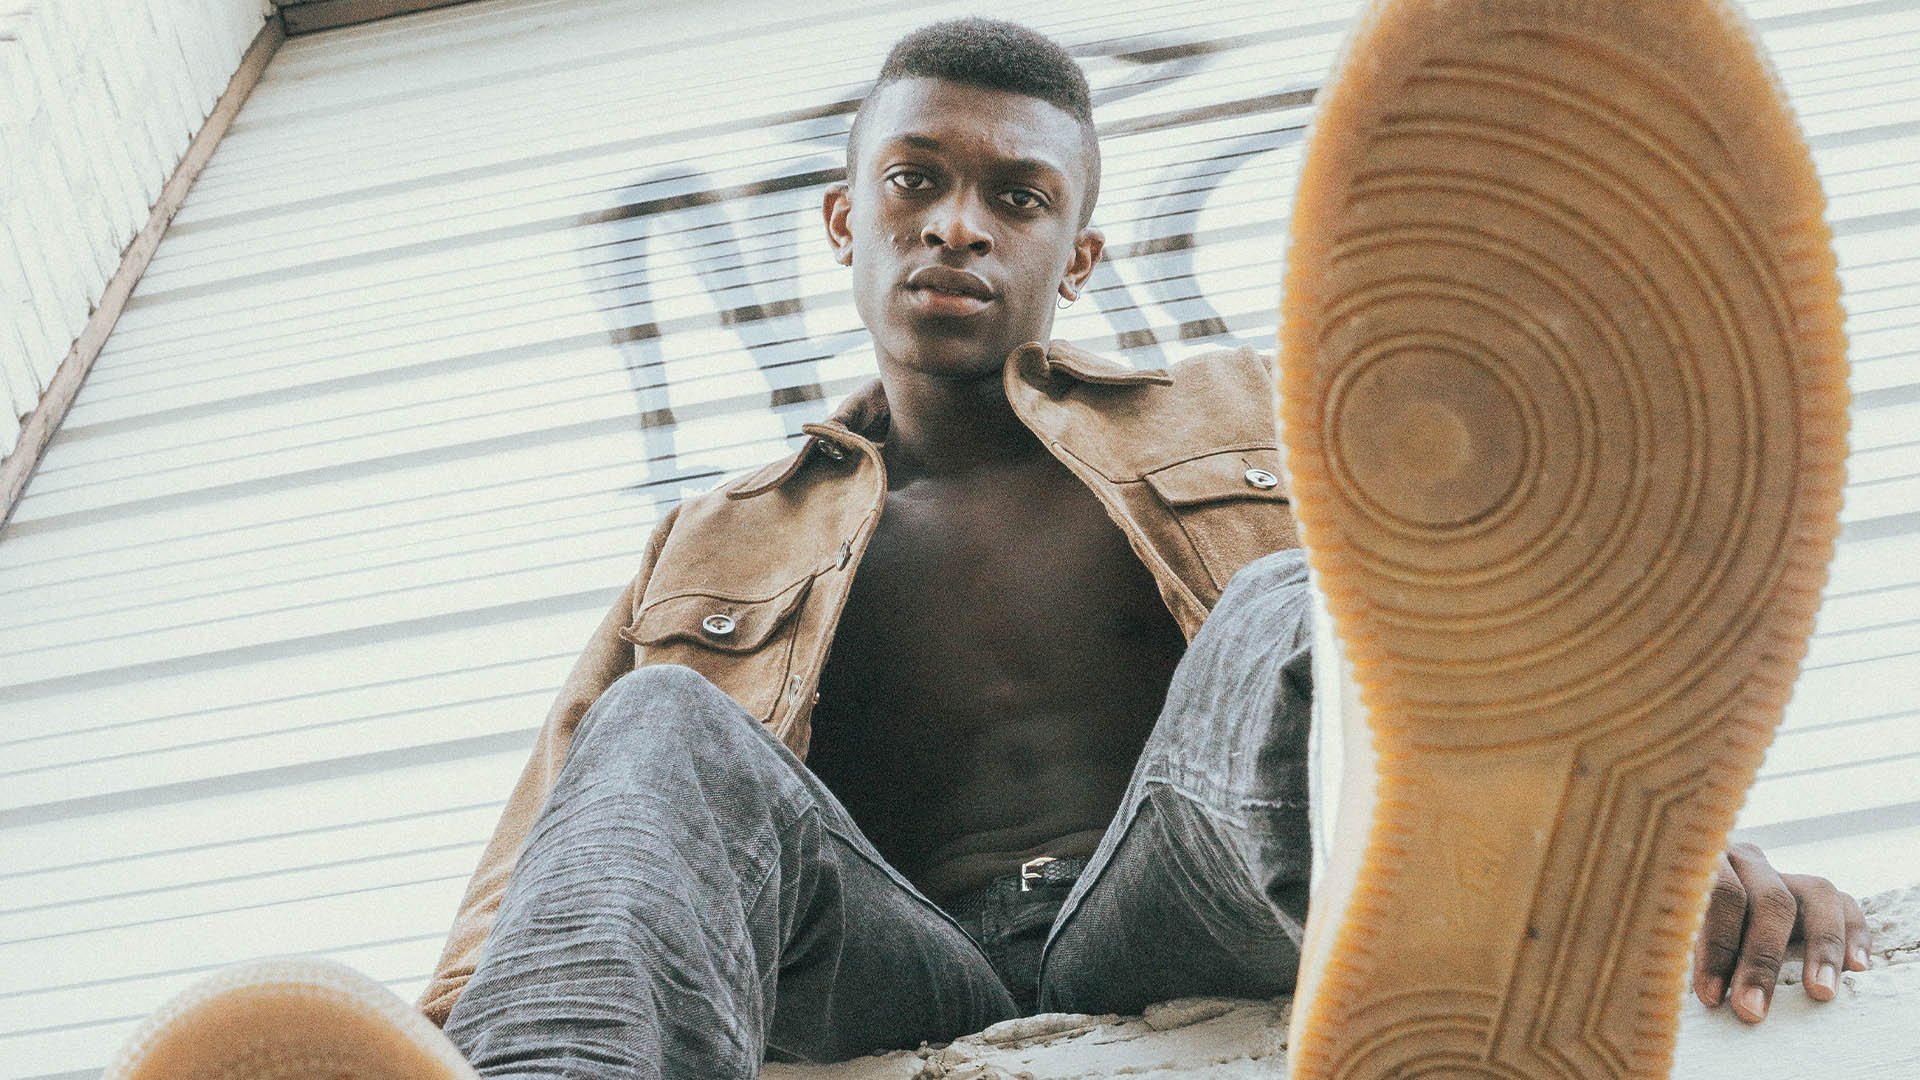
As mentioned above, the low angle shot is truly one of the most powerful shot types in any cinematographer’s toolbelt. Especially when combined with other shot type elements like a close-up or a wide shot, putting the camera low to the ground while angling it up at a subject can be a great way to convey specific themes like power or control.
There’s a lot more to learn and discover about this specific shot type too. If you want to truly master the low angle shot check out this full write-up:
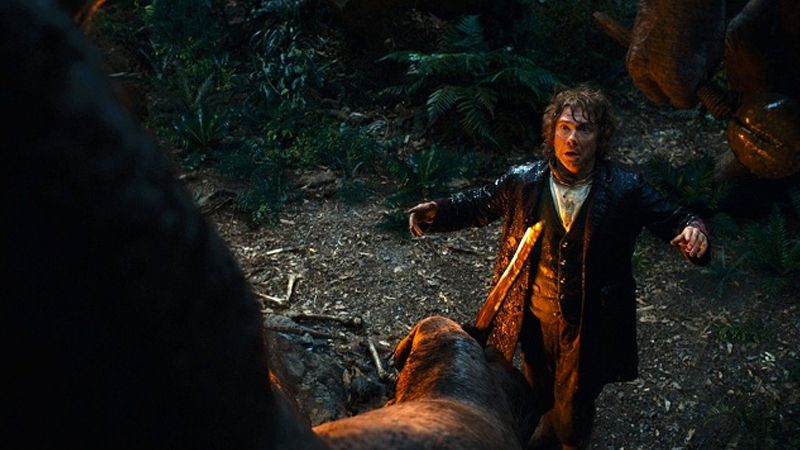
Similarly, if you were to put your camera up high (usually above your head while standing) and angle the lens down towards a subject you’d create a high angle shot. As you might expect, this shot type would convey converse themes to a low angle shot and could be used to imply weakness or vulnerability in your subject.
Of course, there’s much more to explore about this shot technique as well, so definitely read up more on this subject below:
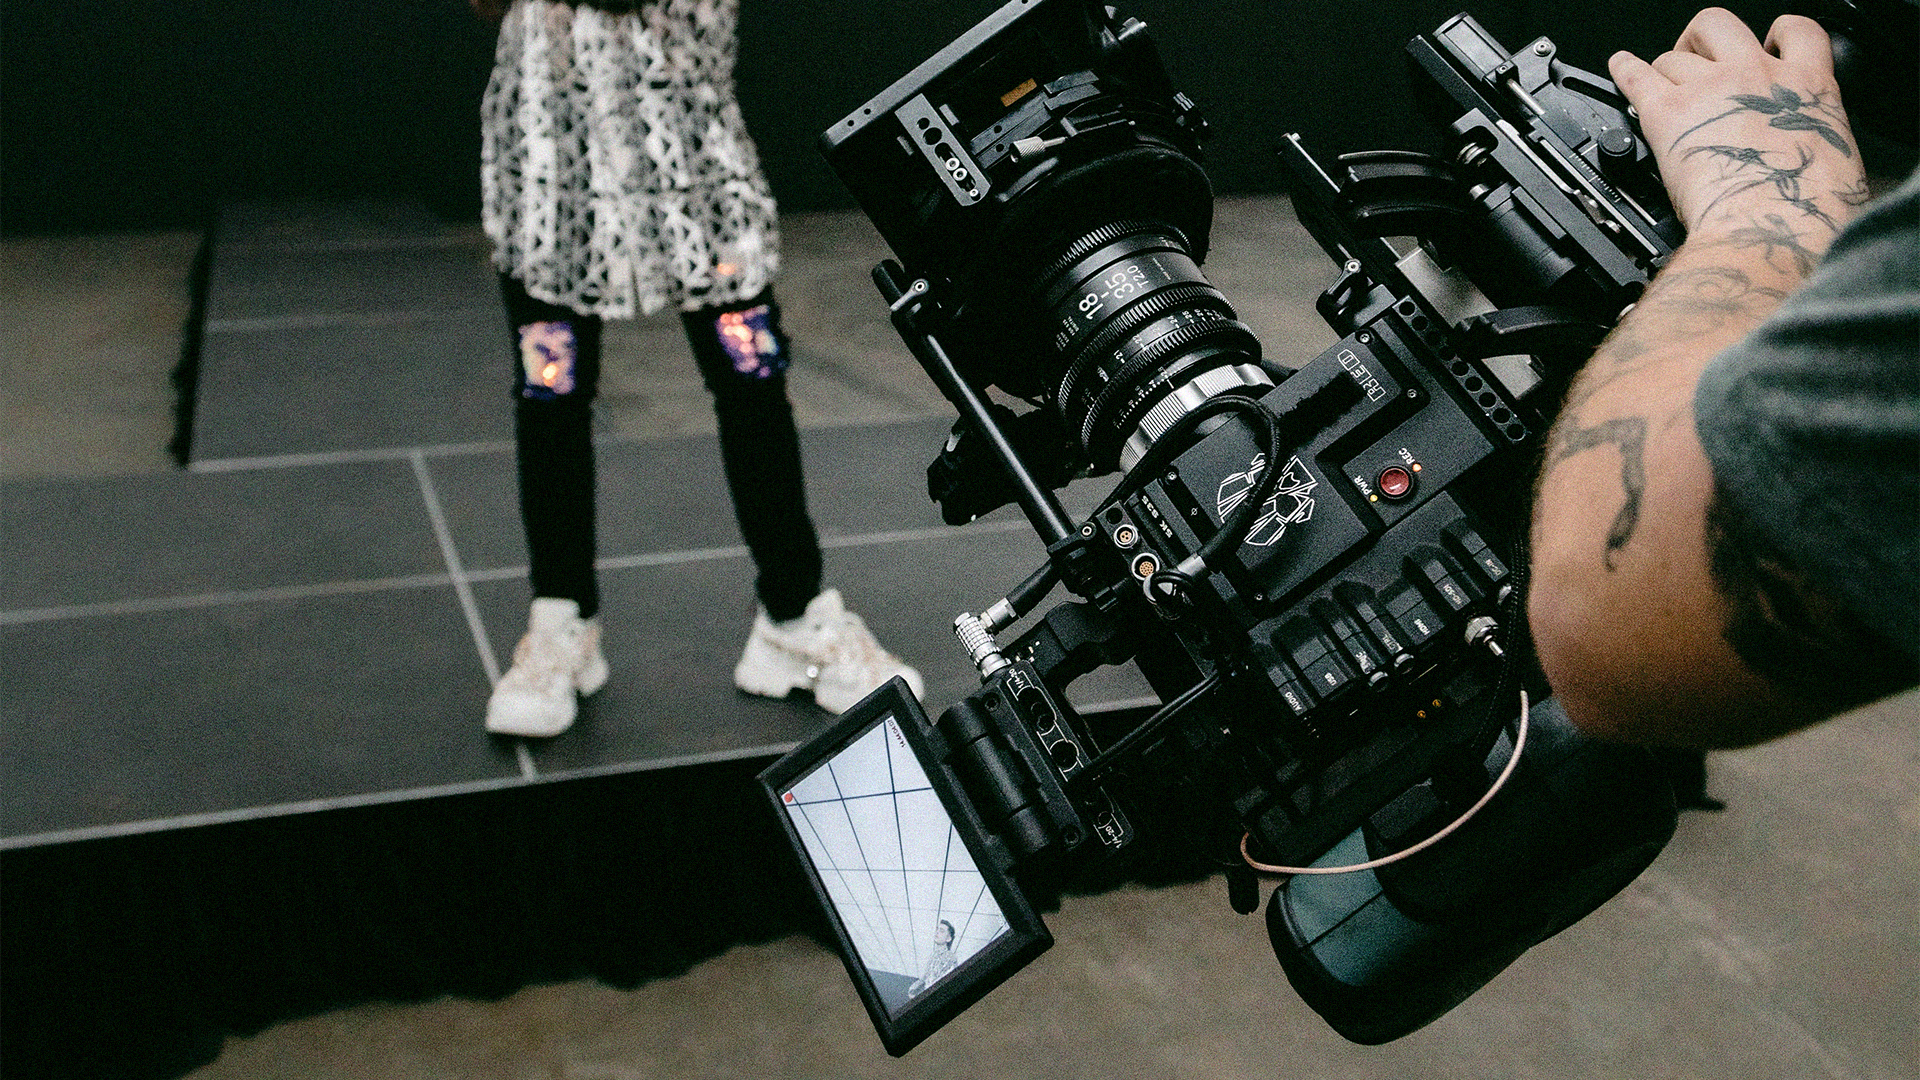
Outside of these standard shot angles, another camera trick you can employ on your shoots is the infamous dutch angle (or canted angle) shot. Unlike a high or low angle shot which tilts the camera upwards or downwards on a tripod, the dutch angle is a term for any side tilting of the camera.
This dutch angle technique might feel a bit awkward as so much of our brain is focused on flatness and symmetry, but if you’re looking to subvert your audience’s expectations and make them feel uncomfortable, then this technique is for you.
However beware that this dutch angle should only be used in the right situations. Read up on how to truly master this shot angle technique here:
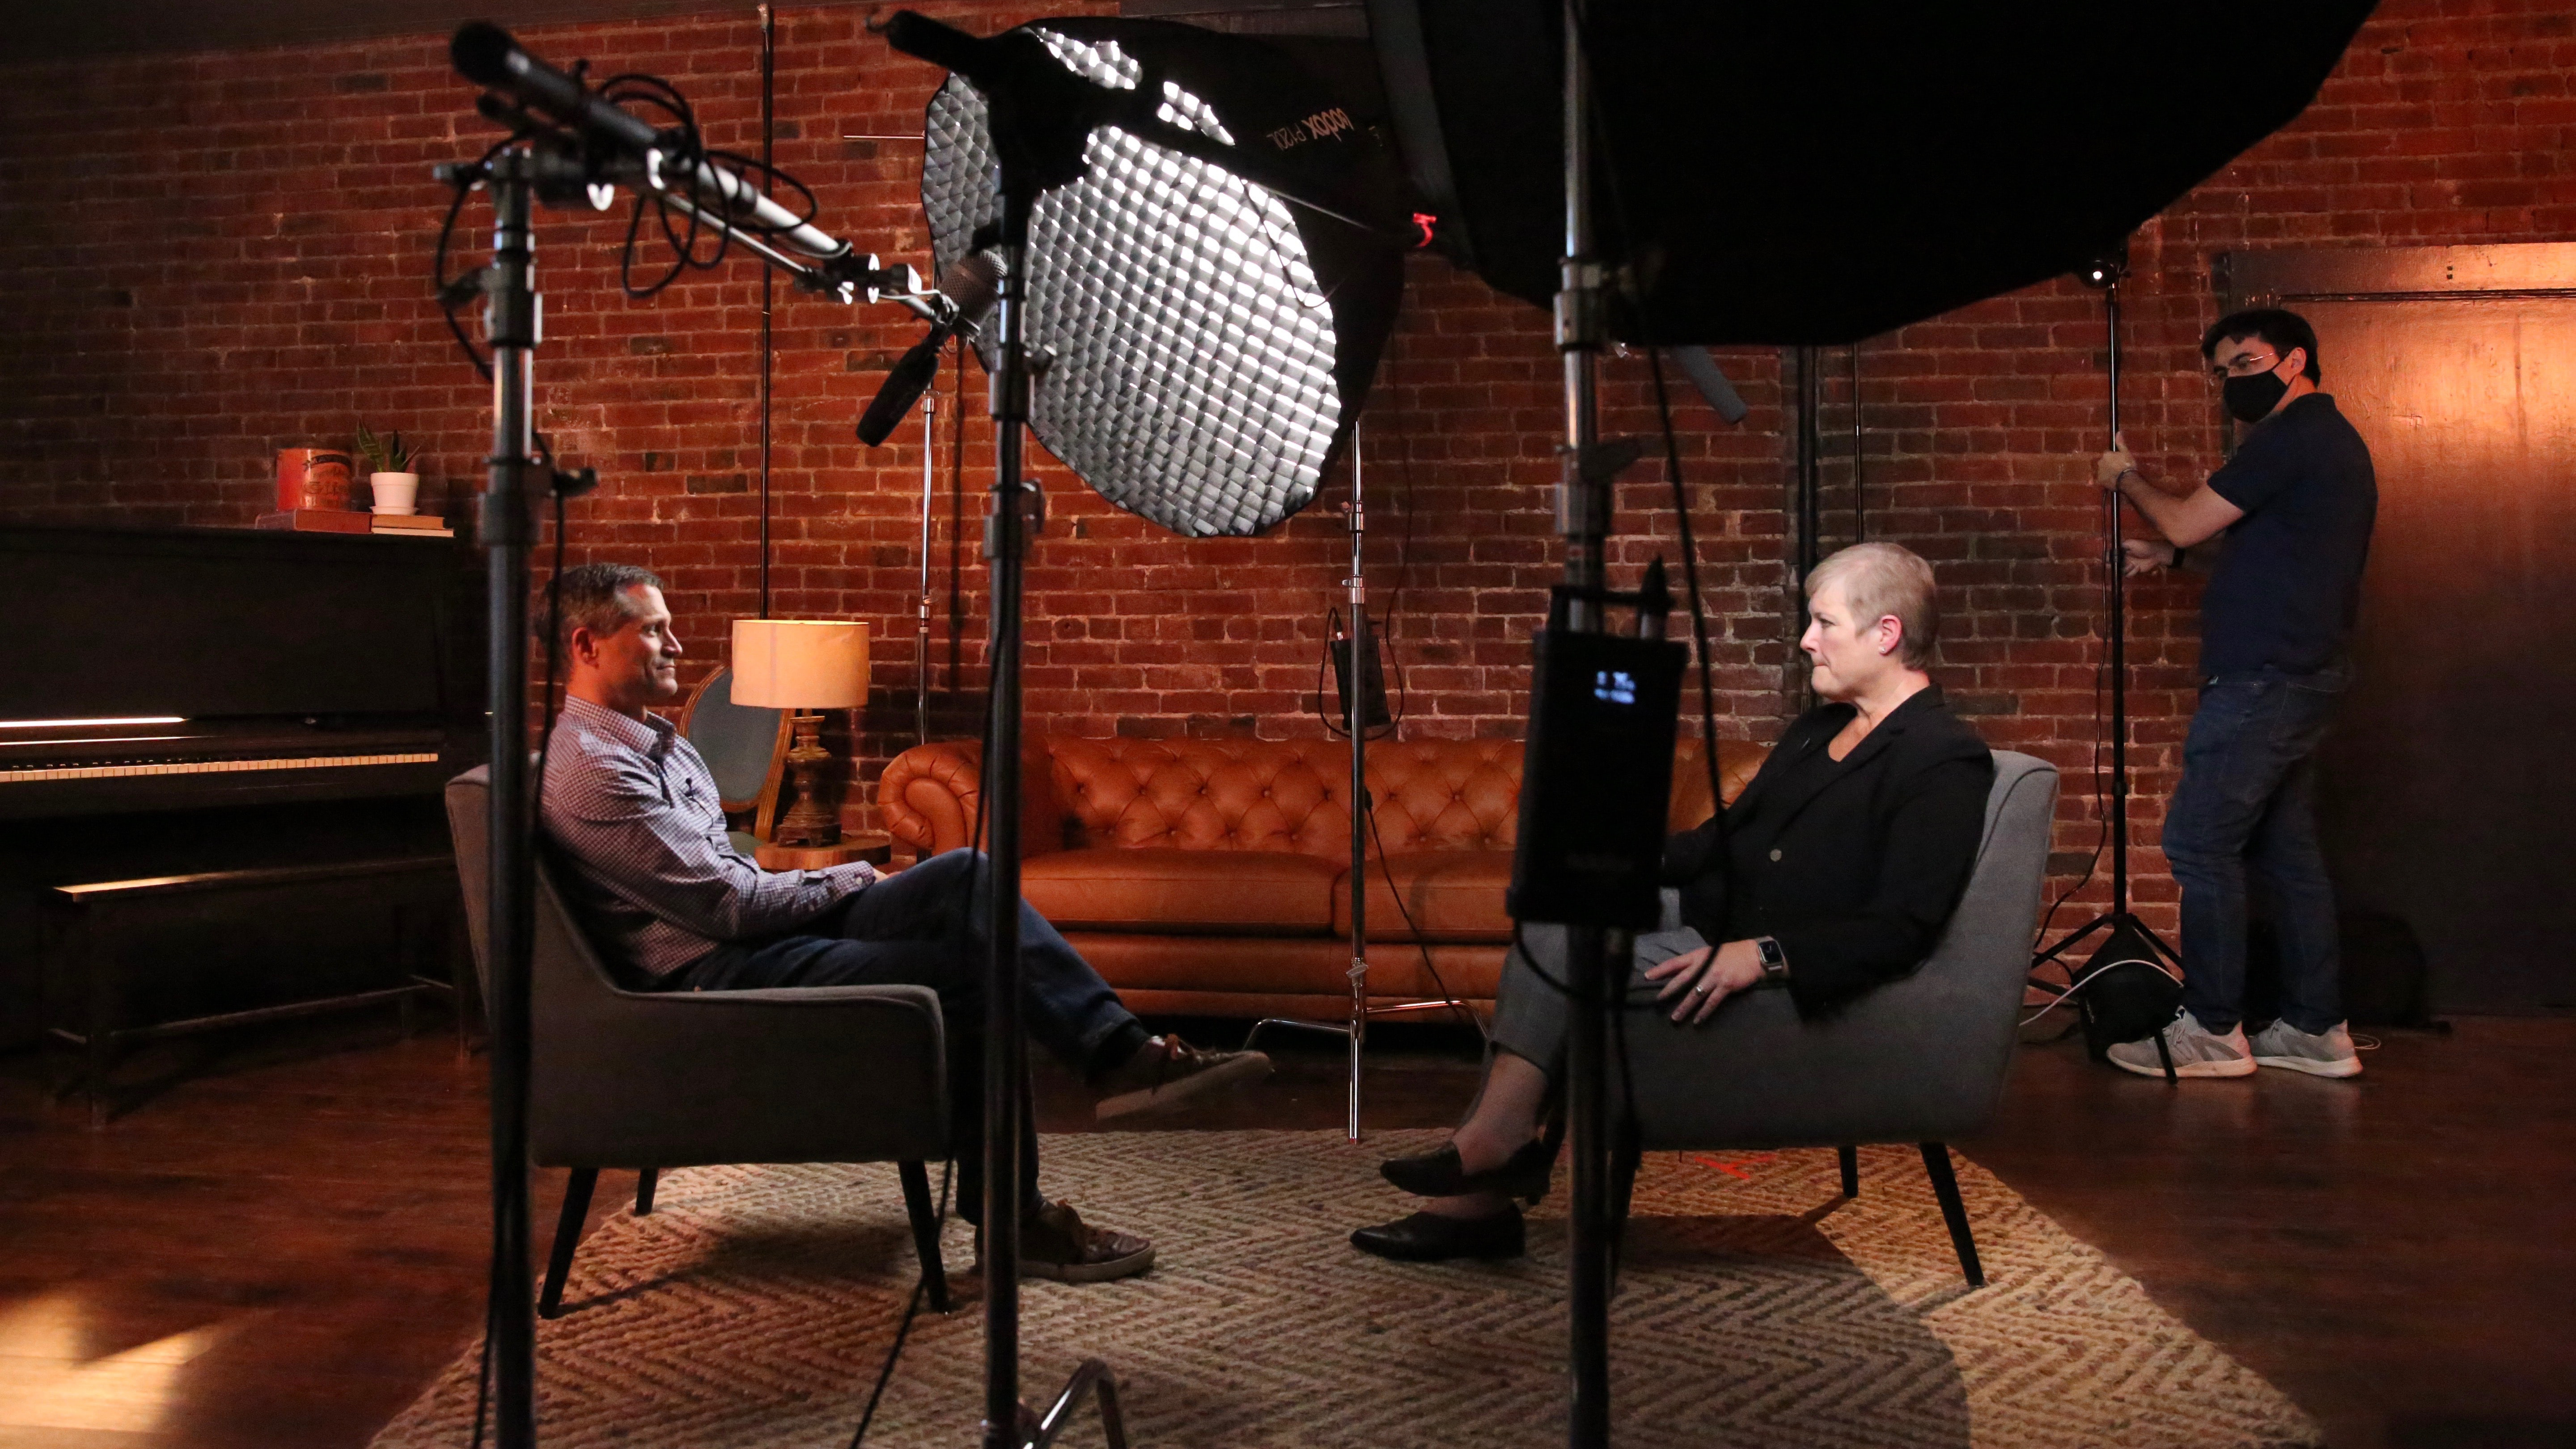
Now, before we move into some of these more advanced shot types, we need to first quickly go over one of the primal rules of shot composition. The 180-degree rule is a defining guideline for how scenes are crafted in film and video.
Simply stated, the 180-degree rule is a technique where a filmmaker constructs an imaginary line between two subjects in a shot of a film scene. This line dictates a side which the camera should stay on as a way to keep the audience oriented for the action and the subsequent cuts.
If the line is broken, it can be unnerving to the viewer as it goes against how our brain has constructed the characters in the scene. So, while you should learn how to use this 180-degree rule and why it exists, there are also some fun ways to experiment with breaking it — which you can read about in this article here:
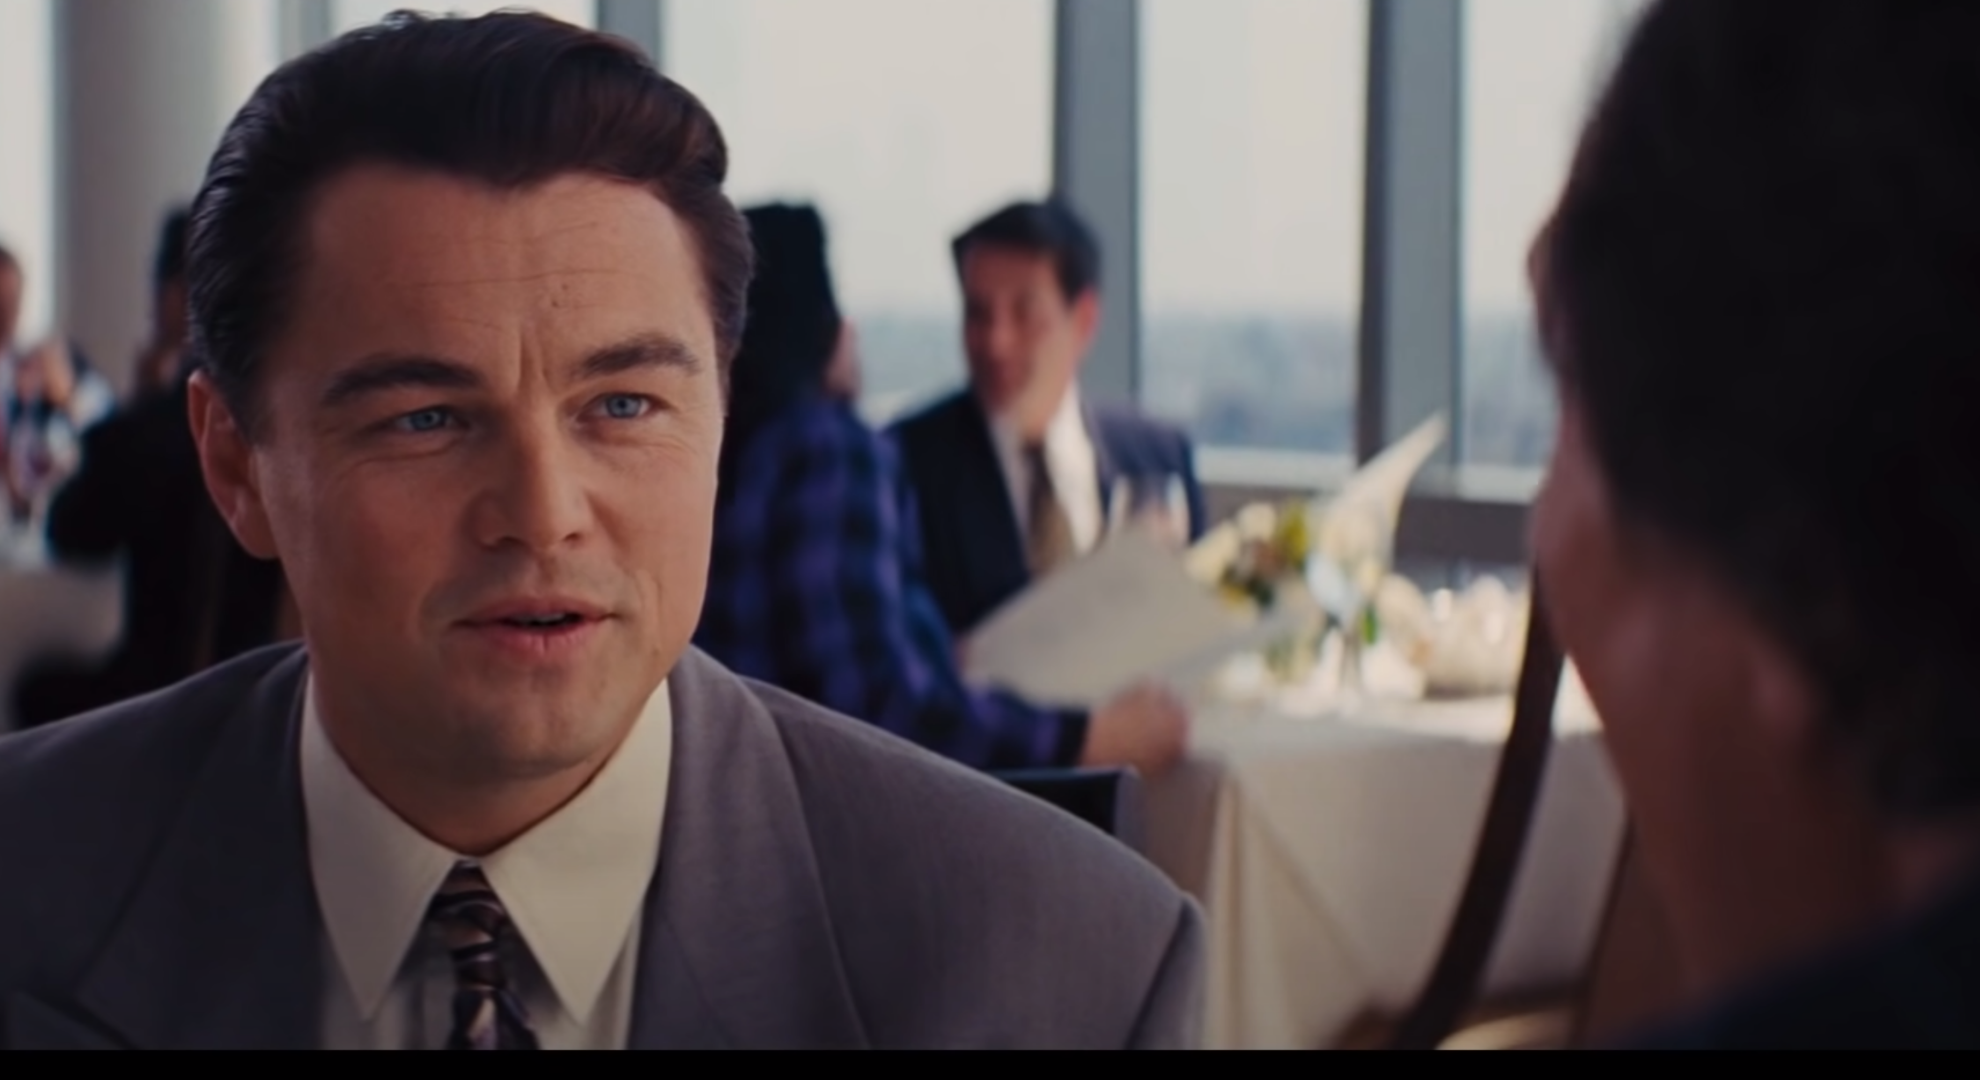
Another great example of how different camera shot types can be applied to even the most basic of sequences is with the over-the-shoulder shot type. Not quite a medium shot and not quite a close-up, an over-the-shoulder shot is another hybrid shot which does several things at once.
The chief tenet to what makes an over-the-shoulder shot a true OTS shot (as it's often stylized), is simply in how it’s used to show two characters facing each other in conversation with the camera behind one character’s shoulder.
The OTS shot only works when used in conjunction with other camera shot types within a scene, but when done properly it can help to naturally bring the audience closer into a scene and better engage with the characters and dialogue.
Here are some of the basic guidelines for shooting OTS shots in your projects:
You can learn much more about what makes over-the-shoulder shots work (and explore some great film and TV examples) in this article below.
Once you’ve felt that you’ve got a solid understanding of some of the basic shot types like close-ups, medium shots and wide shots, you can really start to experiment with how you use these different camera shot types while constructing your own scenes.
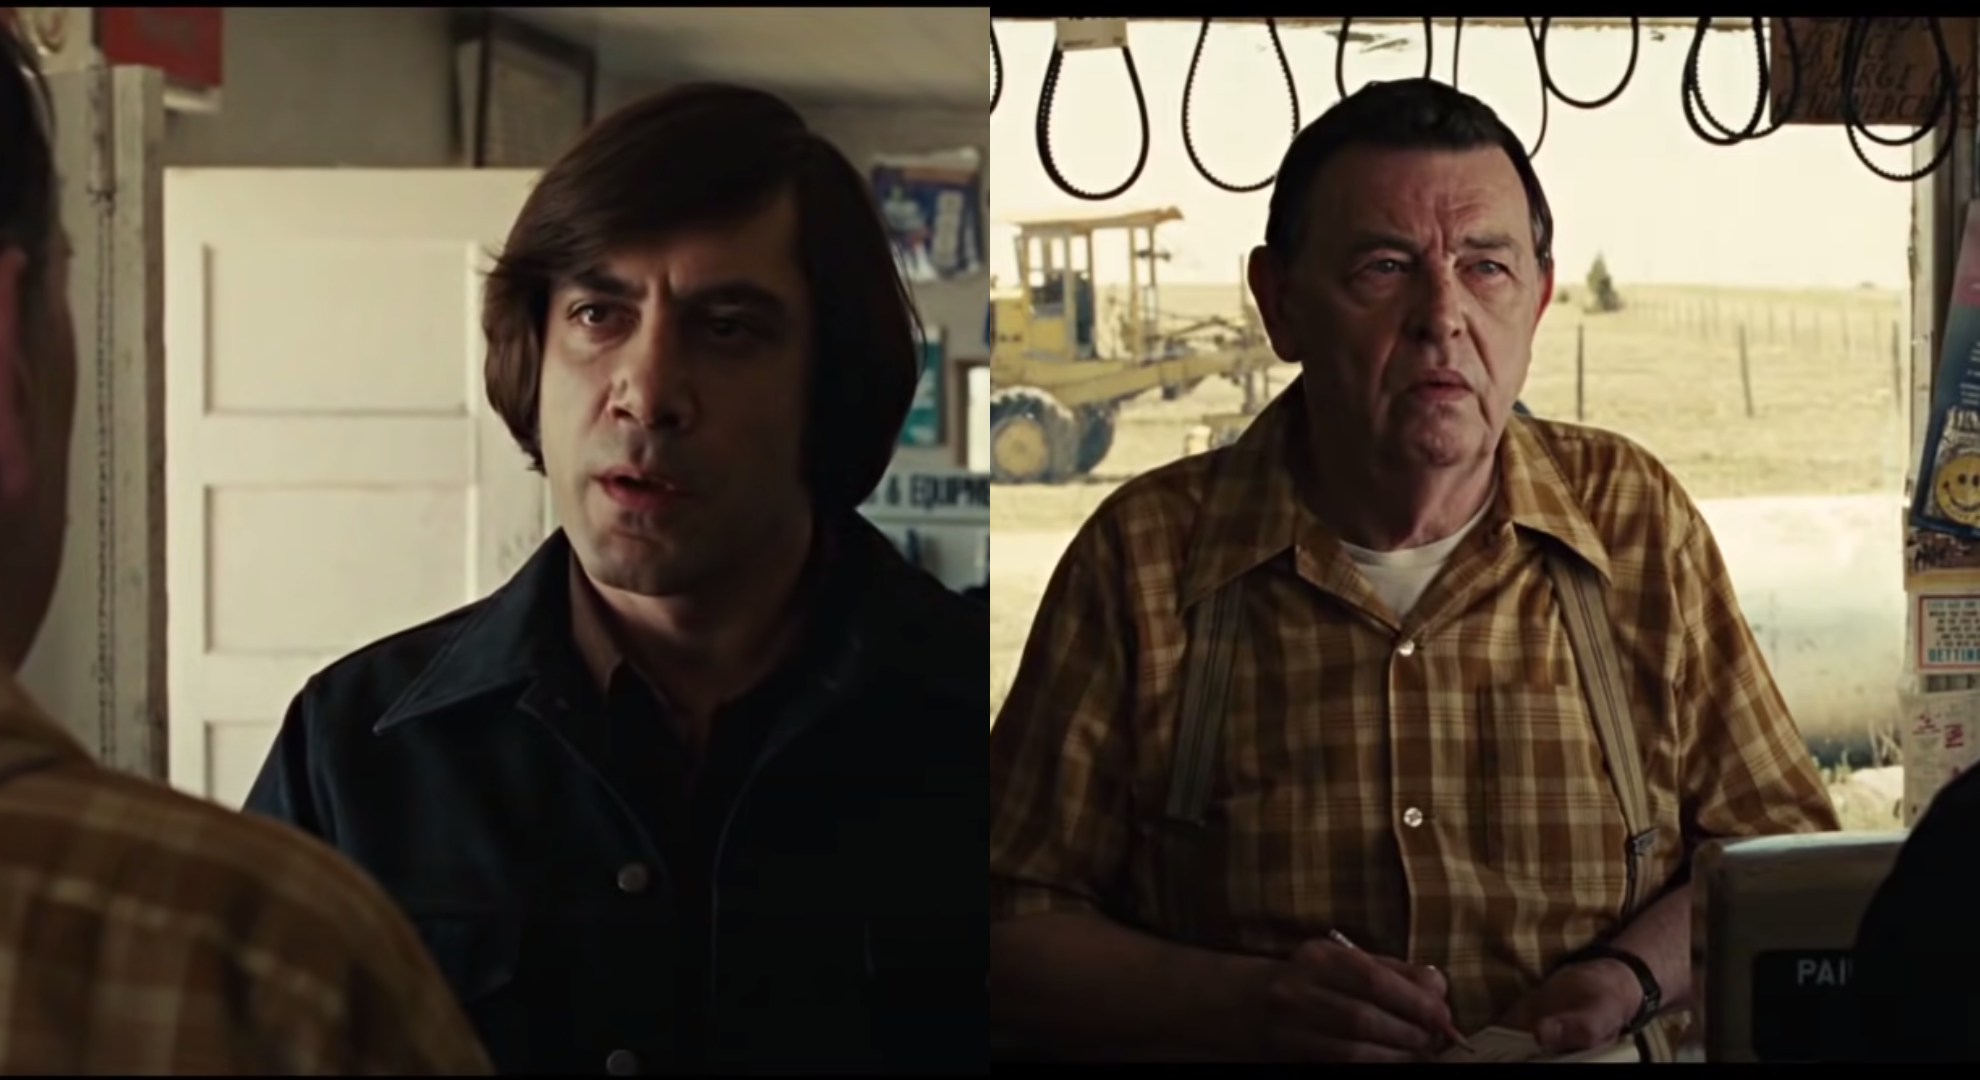
One of the most popular shot type formats that you’ll find in pretty much any film or video type is the familiar shot-reverse-shot sequence. You see these literally everywhere! However, for the sake of simplicity, we’ll focus on them only in examples of basic scenes with two characters conversing.
Basically put, the shot-reverse-shot format brings the audience into a conversation by showing one character speaking, cutting to a reaction and/or a follow-up from the other character, then back to the first (as it continues on as such).
While there are plenty of filmmakers and content creators that we could highlight for this technique, probably the best to learn from are the great Coen Brothers. You can watch the shot-reverse-shot format in action in this clip from No Country for Old Men.
Or you can read up even further into how the Coen Brothers use and frame up their shot-reverse-shot sequences in the excellent article below.
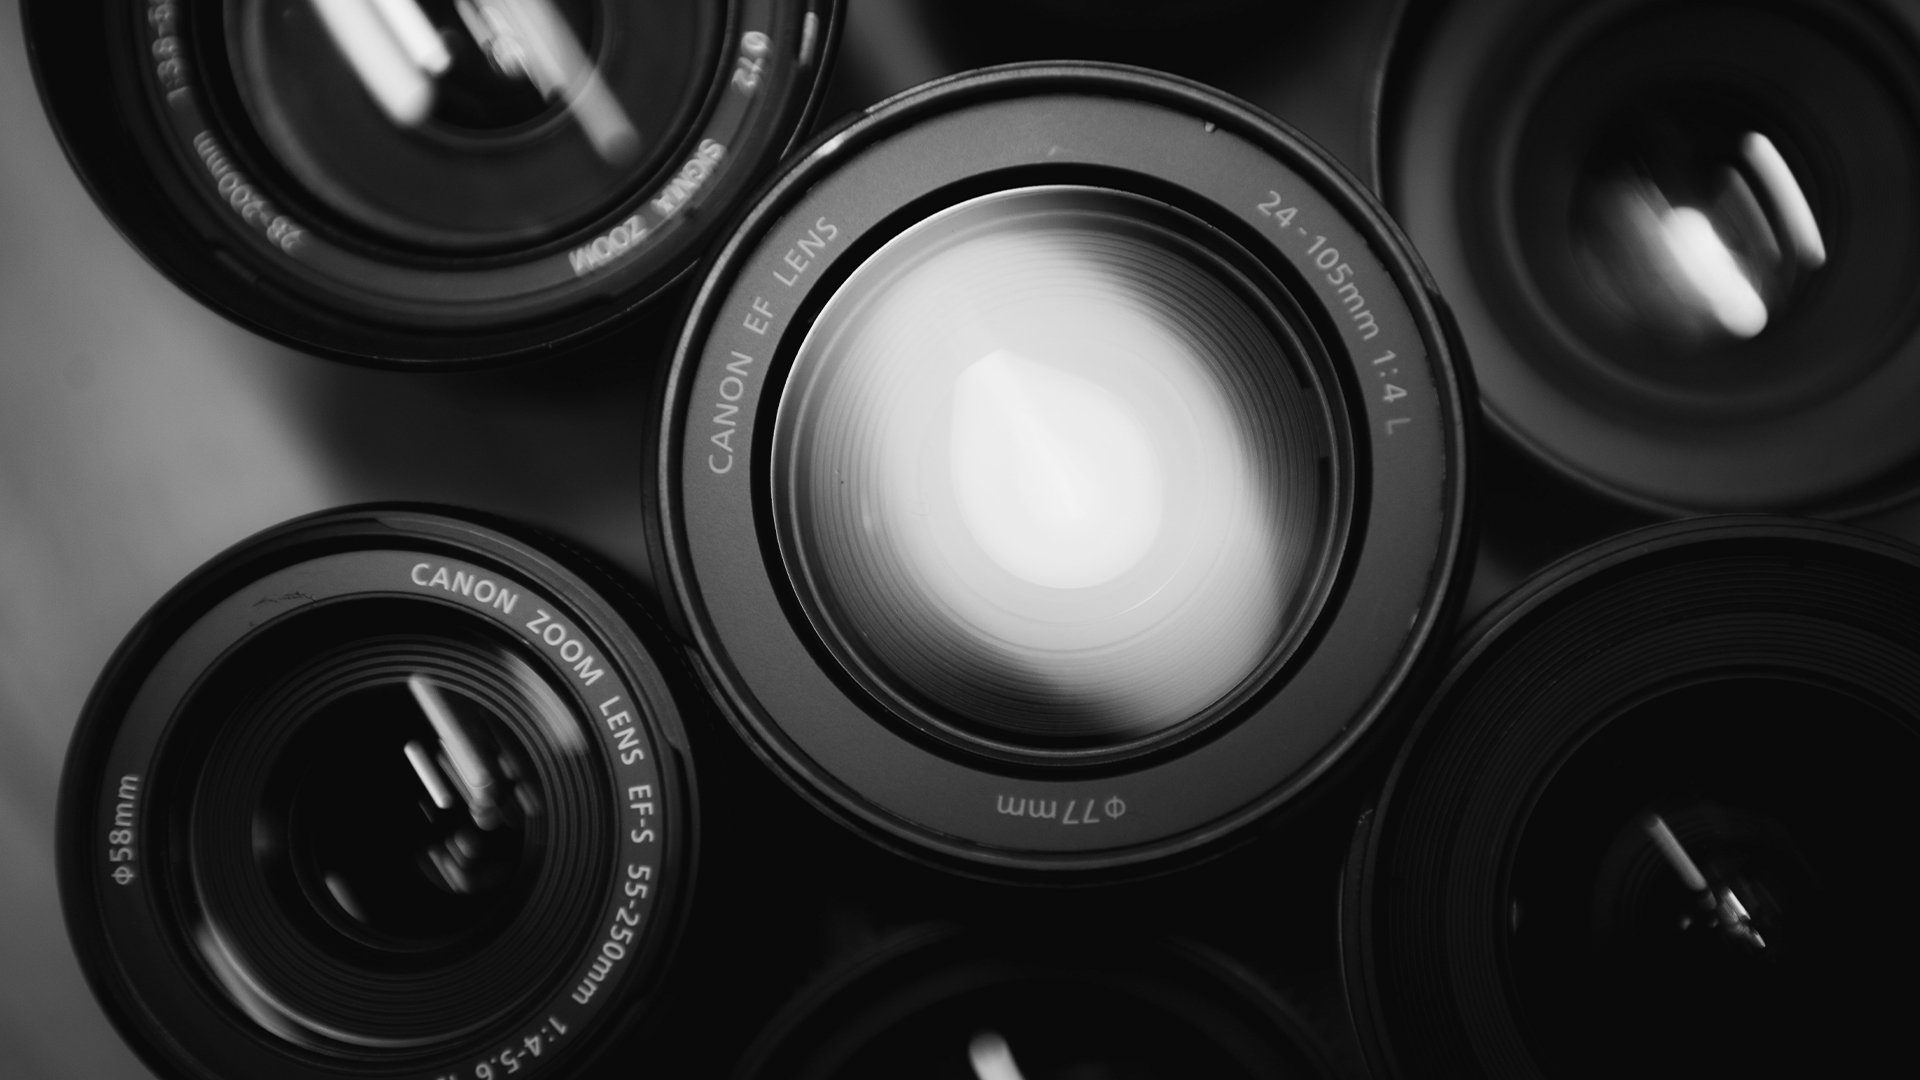
While we can only give this topic so much justice in this article, another huge factor to consider when framing up your camera shot types is focal length. Choosing the right focal length and working with depth of field is hugely important to how your shot is going to look and feel.
From a filmmaking and videography side, understanding focal length is also highly critical in everything from how you light your scene, to how you set your camera’s settings, to how you have your actors move and perform in the scene.
Without diving in too deep, focal length is best defined simply as a measurement of the distance between the optical center of a camera lens and the sensor. And it defines how much of a scene will be captured for your film or video project.
You can read much more in-depth about focal length and how you can pick the right depth-of-field for your projects in this full article below.
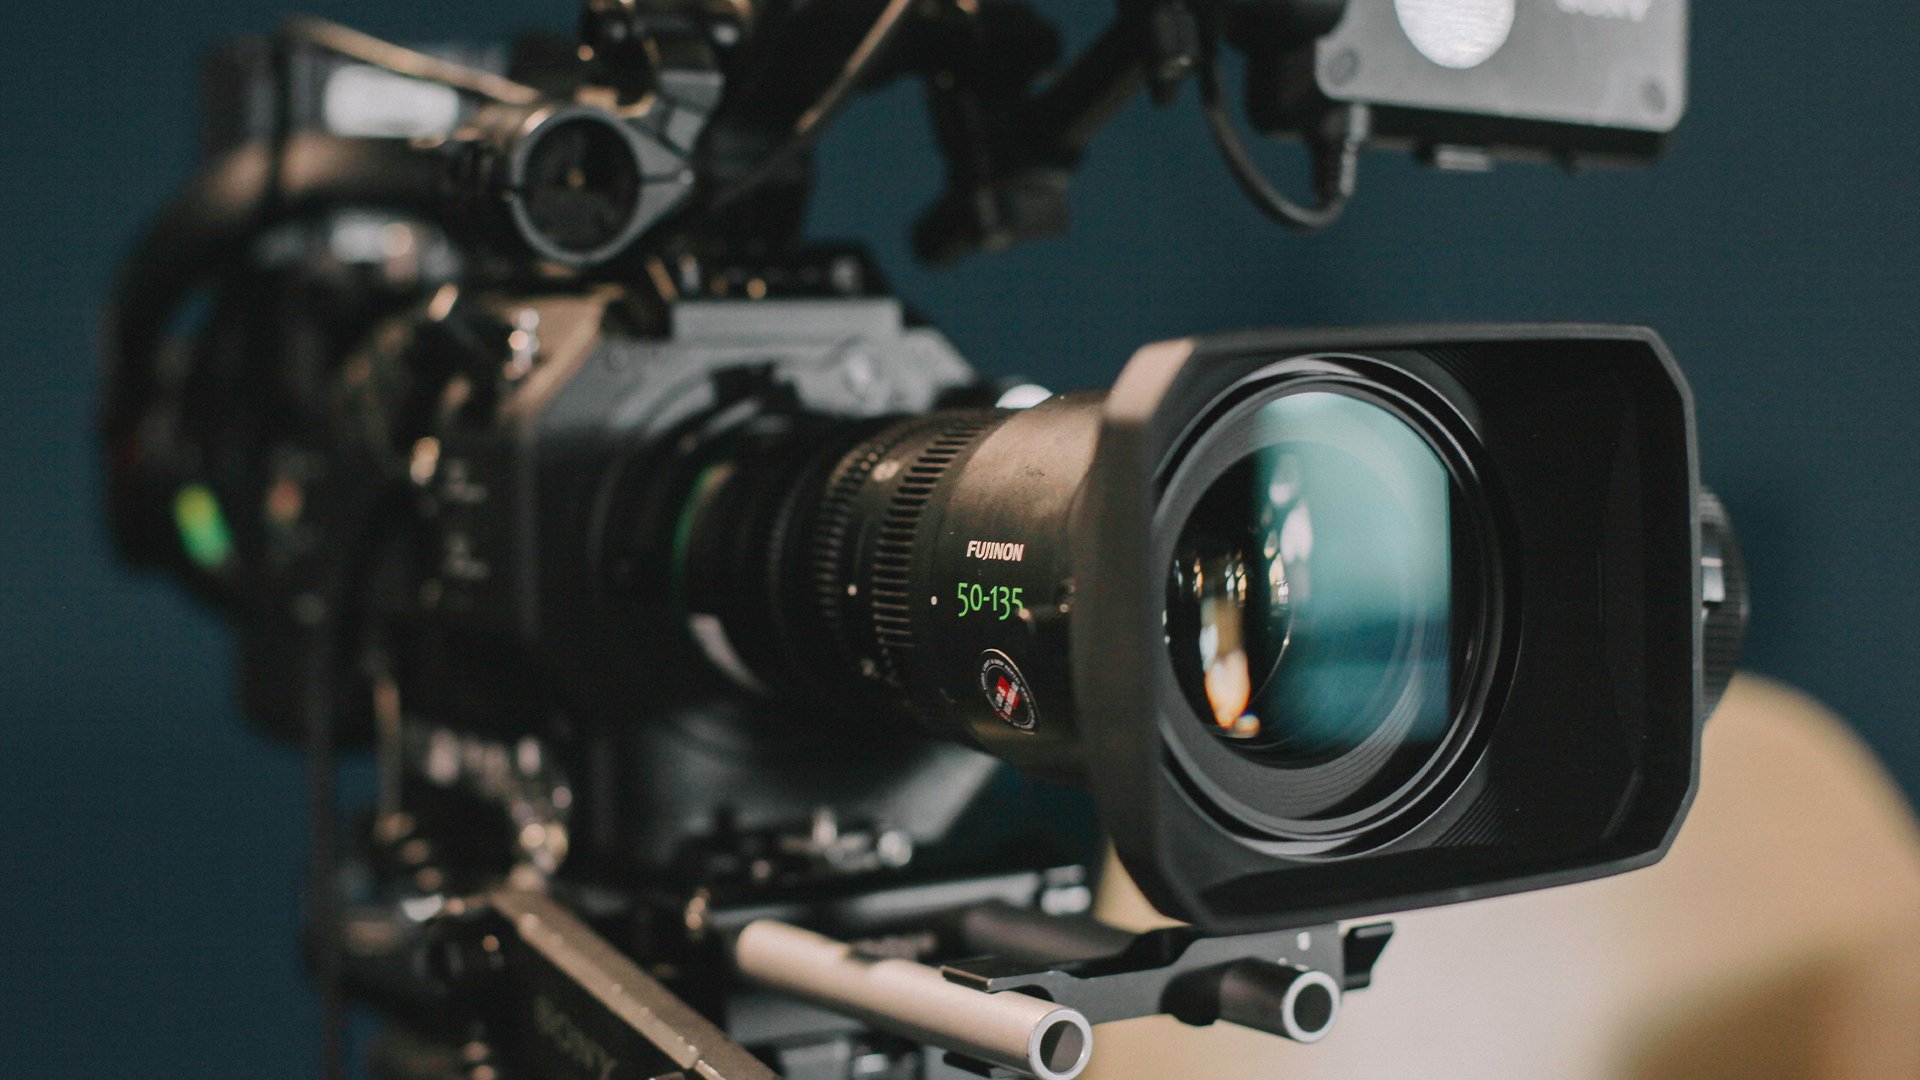
Another quick addendum to include would also be to highlight rack focus shots. This technique can only be done however once you have a strong understanding of focal lengths and depth-of-field (which you can read about above).
However, when done in conjunction with different shot types, camera movement and thematic storytelling, rack focus shots can be some of the most powerful shot techniques in any scene or project. Be sure to read up on the rack focus technique below:
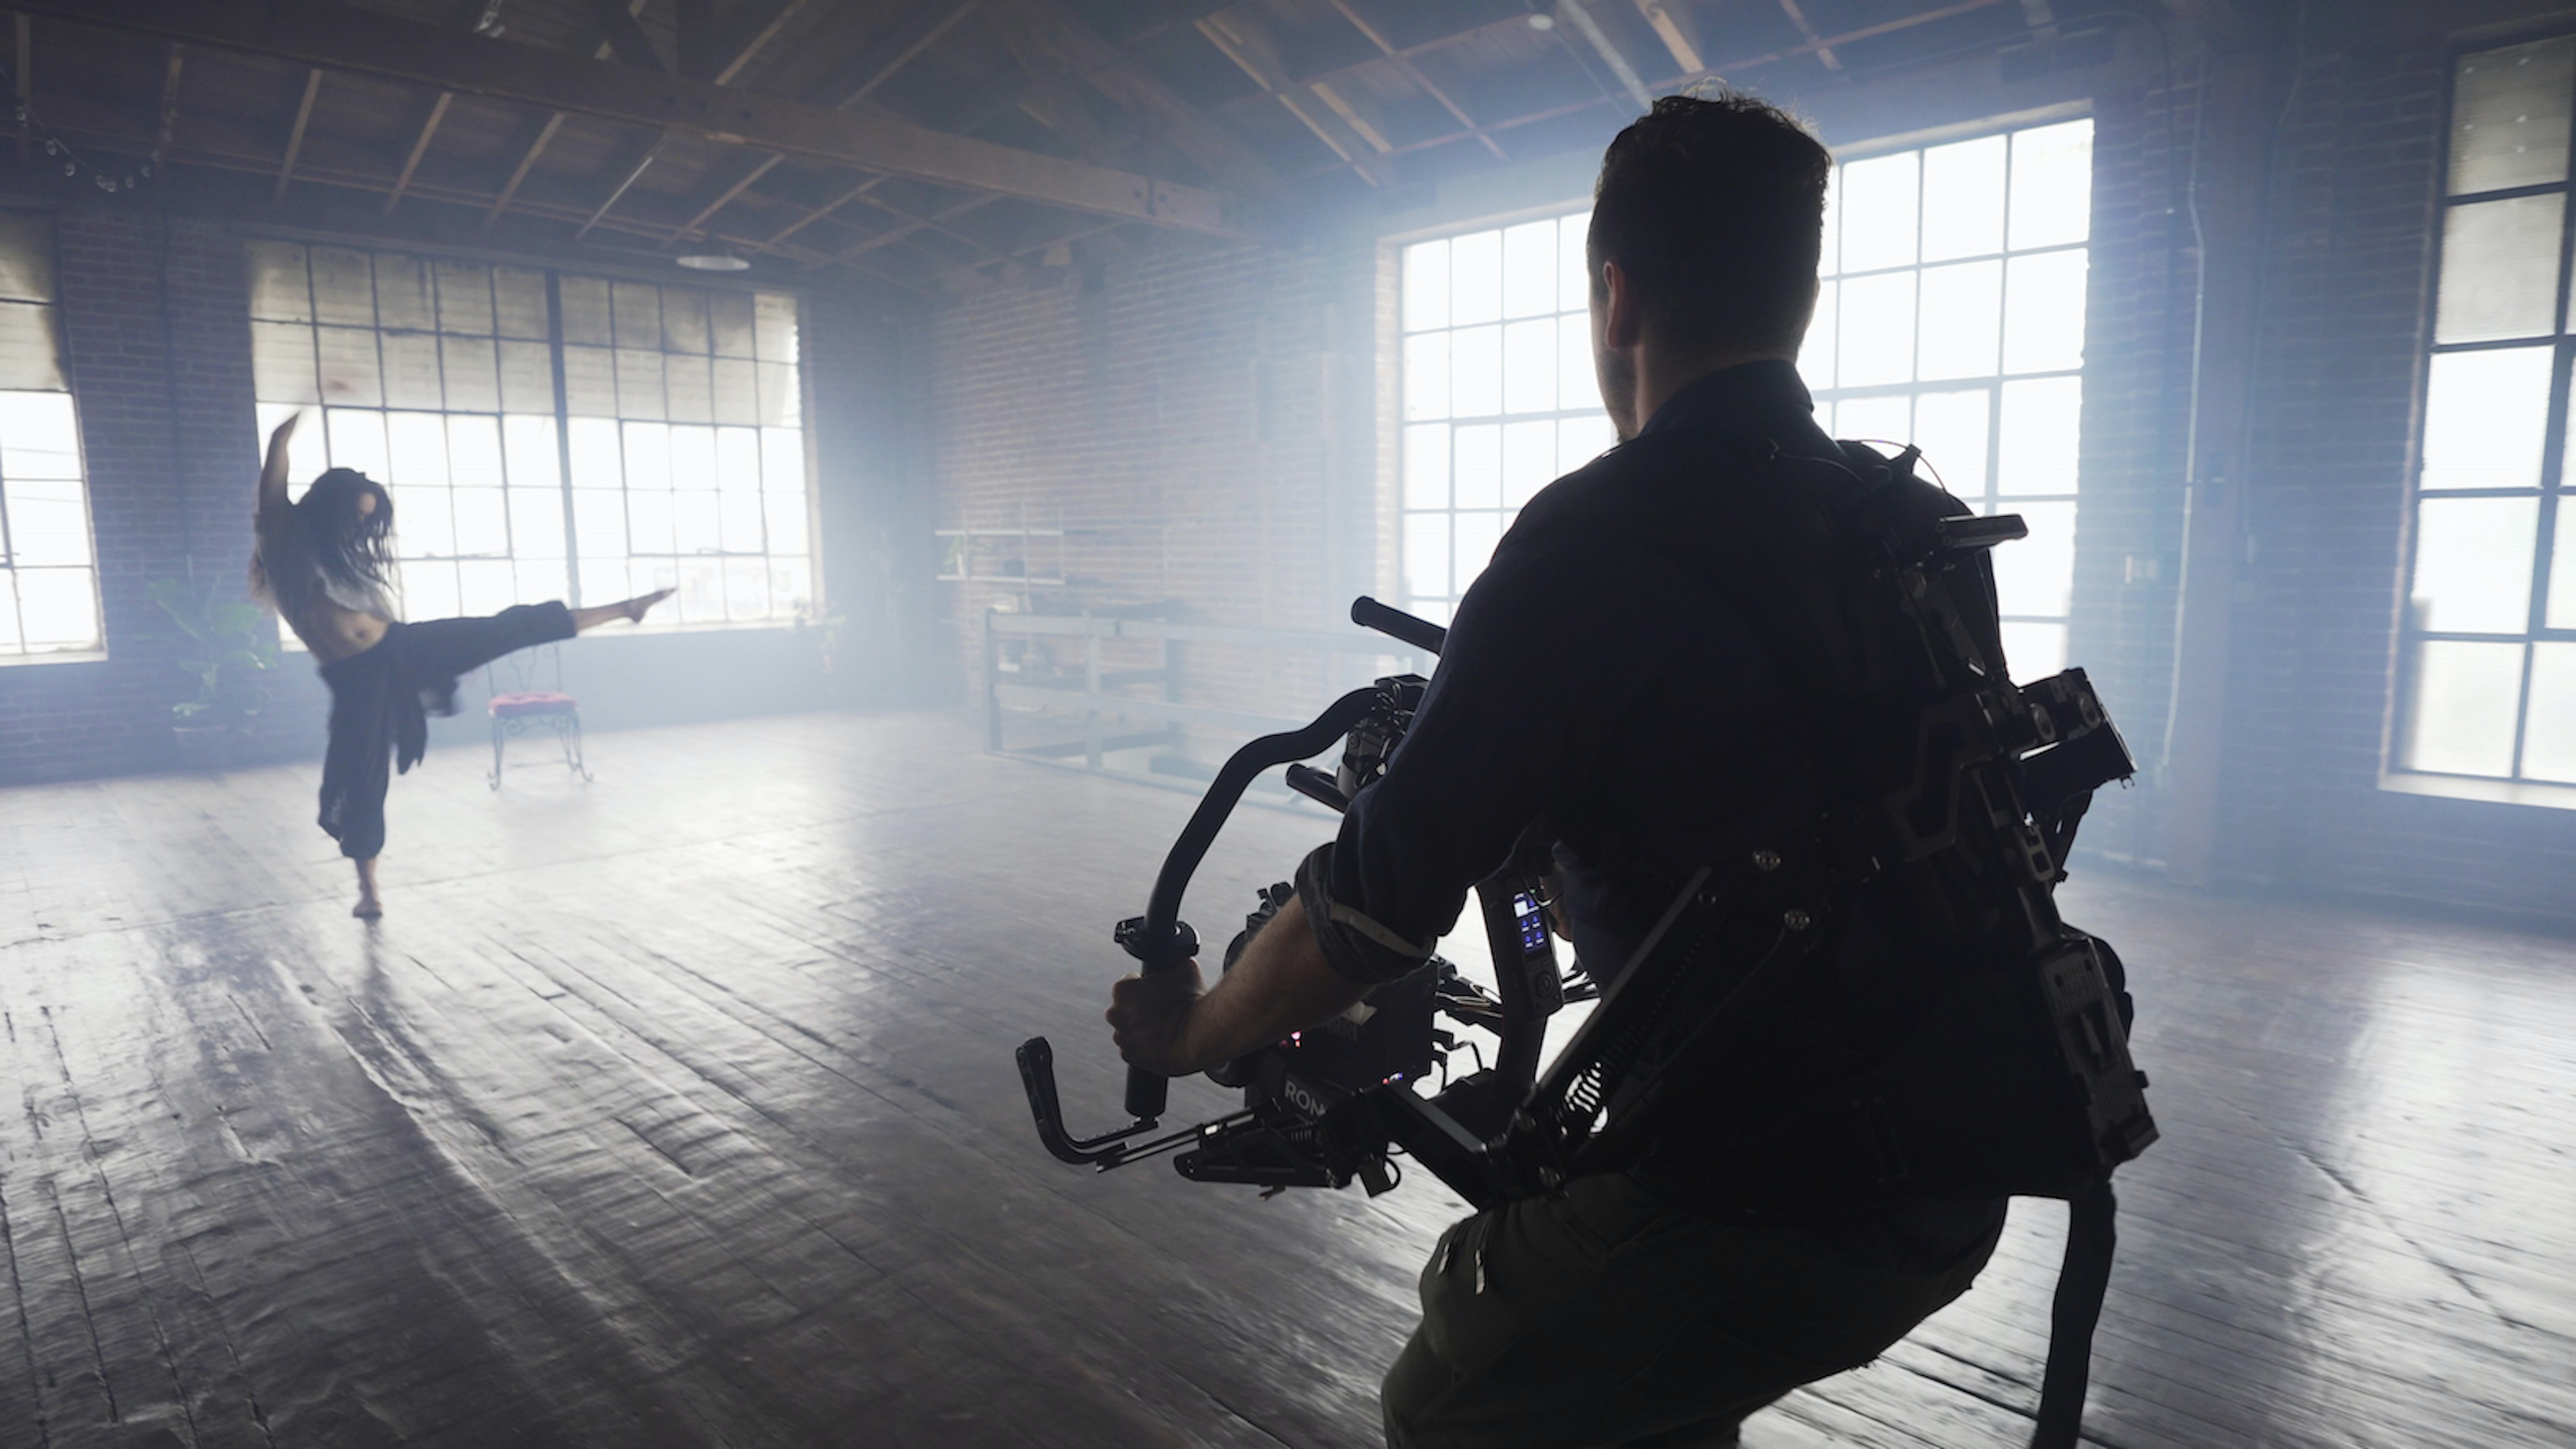
Finally, as we wrap up all of our different shot types, angles, and levels, we need to briefly go over how the traditional logic of shot construction is changing. While there are still plenty of projects where filming from a stationary tripod might be ideal, for many content creators these days the camera is often in a constant state of motion.
However, just because you’re using a gimbal or shooting handheld, you should still keep these shot composition basics in mind. And if you’d like to unlock the best ways to work with these gimbals and free-flowing camera setups, read up on these core gimbal moves here:
Chances are you've seen all (or at least almost all) of these types of camera shots in action, maybe even without realizing it. In some ways, that's part of the art of filmmaking — making the right shot choices without drawing attention to them.
So, regardless of what camera you own, you should feel pretty comfortable now setting up the different types of camera shots and camera angles on your own.
Also feel free to get experimental and try out extreme close up shot captures, or an extreme shot angle with a different camera shot focus. An aerial shot with a drone or a creative new move along the vertical axis for a two shot can be a fun camera shot angle to explore.
There are no wrong answers. Still, if you’d like to hone your skills even further and really explore this incredible filmmaking skill, here are some other articles that can help: