May 23, 2022
Let’s face it: The shaky cam style is officially here to stay.
You know the style I’m talking about too. You’ve seen it in everything from The Blair Witch Project or other found footage films to the jerky camera work in a YouTuber’s Saving Private Ryan-inspired shootout or video game-esque car chase.
However, despite it appearing to be the result of motion sickness-inducing camera movement work, it can be a very specific style which — when used properly — can be quite effective in cinematic storytelling.
But besides the notable examples of amateur documentary film students running around with a GoPro, the effect is actually difficult to achieve with sensibility and precision. So, while we won’t ignore the inherent implications of using this controversial style, it’s in your best interests to know the best tips, tricks, and techniques for working with the shaky camera effect.
So buckle up, drop your tripod into the trash, and get ready to run-and-gun as we breakdown how to use shaky cam in your videos.
Let’s first start off with a basic definition and how the shaky camera technique is used in film and video production. Along with being a production technique, the term also can be used to describe a specific style of video footage that one often sees in film and television.
These uses are pretty much the same, but it’s important to distinguish the two from each other because there are many different ways to create this “shaky cam” look, as well as many different ways to use this effect in a film sequence or even an entire film.
Let’s next talk about how filmmakers actually create what is sometimes called the queasy cam look and why it has the distinct qualities that it does.
As its name implies, this shaky camera technique isn’t the most ideal shooting style. For anyone just starting off in film and video, I’d highly recommend you use a tripod for most of your shots as a way to learn the basics of shot framing, your camera settings, and basic movements.
However, as filmmakers begin to experiment with other shot types, there’s a growing desire to take the camera off of a tripod and move it around by hand. This also makes things much trickier for a number of factors though, including focus, stabilization, motion blur, random zooming, and other variables that come into play.
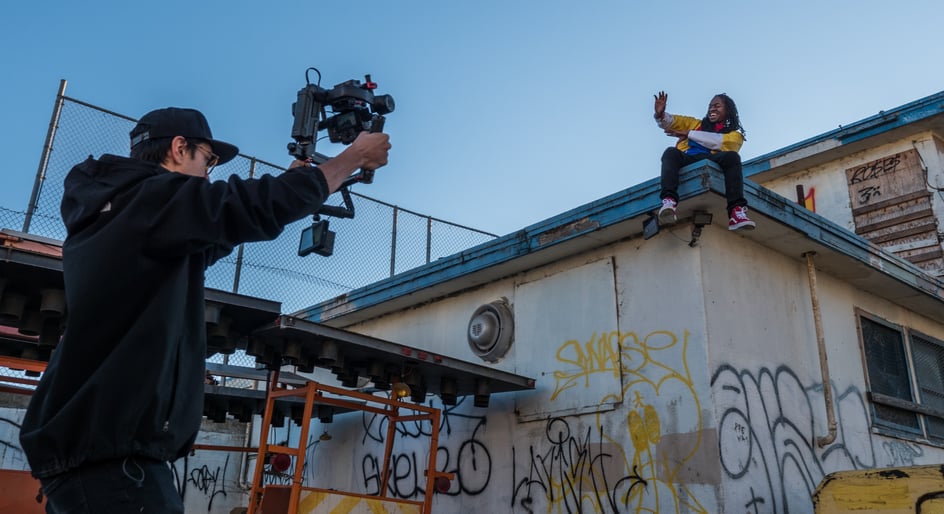
For many video professionals, the shaky camera look isn’t usually shot by hand in the way a new YouTuber might use a GoPro camera. Instead, industry professionals often use some sort of stabilizer or gimbal to simulate this “shaky” handheld camera look, but with added stabilization so that normal production guidelines can be followed.
Now let’s go over some different techniques for shooting shaky cam style footage on your projects.
And just so you don't have to be constantly reminded, every video shoot will be different, so it’s understandable that production needs, tools, and budgets will vary. Still, these guidelines should cover options from low-budget production to the high-quality industry standard.
The final, higher-budget, options will obviously provide less shake and more smoothness. However, as we’ll go over below, the real goal for many “shaky cam” style projects isn’t actually unpredictable shakiness.
Instead it’s a controllable shake effect which can be added to a well-shot scene. This approach will look great for action scenes and help create other emotional effects that you see on the big screen (or even the small screen).
For many film and video projects — especially the higher-end ones which require greater control and other elements like VFX — camera shake is usually more of a post-production effect rather than a production technique.
This is mostly because shaking in-camera often causes more problems than the opportunities it presents. For example, camera shake is going to cause a lot of motion blur that you really have no control of. It’s also going to make any rotoscoping or frame-by-frame compositing to become very, very difficult.
As such, many filmmakers and content creators will shoot footage as smoothly as possible (ideally with one of the better gimbals or steadicam options that we outlined above), and add camera shake in the edit. And, truth be told, it’s not that hard to do either.
Here are some helpful guides and tutorials that cover this very thing and outline some easy ways to add camera shake in your video edits.
Hopefully these definitions, resources, and tutorials have given you a solid understanding not just of what shaky cam footage is, but how to use this camera shake technique in your own projects.
If you’d like to read up on some other camera work techniques, shot types, and general filmmaking tips and tricks, check out these other great articles from the Soundstripe blog: